WhatsApp is an application for messaging, calls, and video calls over the internet. It allows users to send text messages, audio and video recordings, documents, and contacts, as well as conduct voice and video calls within the application. WhatsApp also has a high level of message security and encryption.
To integrate this channel, a confirmed Meta Business Manager account is required.
The official information from Meta about the confirmation of the company can be found by clicking on the link.
Follow the instructions in this article to connect the channel. Click on the desired section to go to its description:
1
Creating a Meta Business Manager account
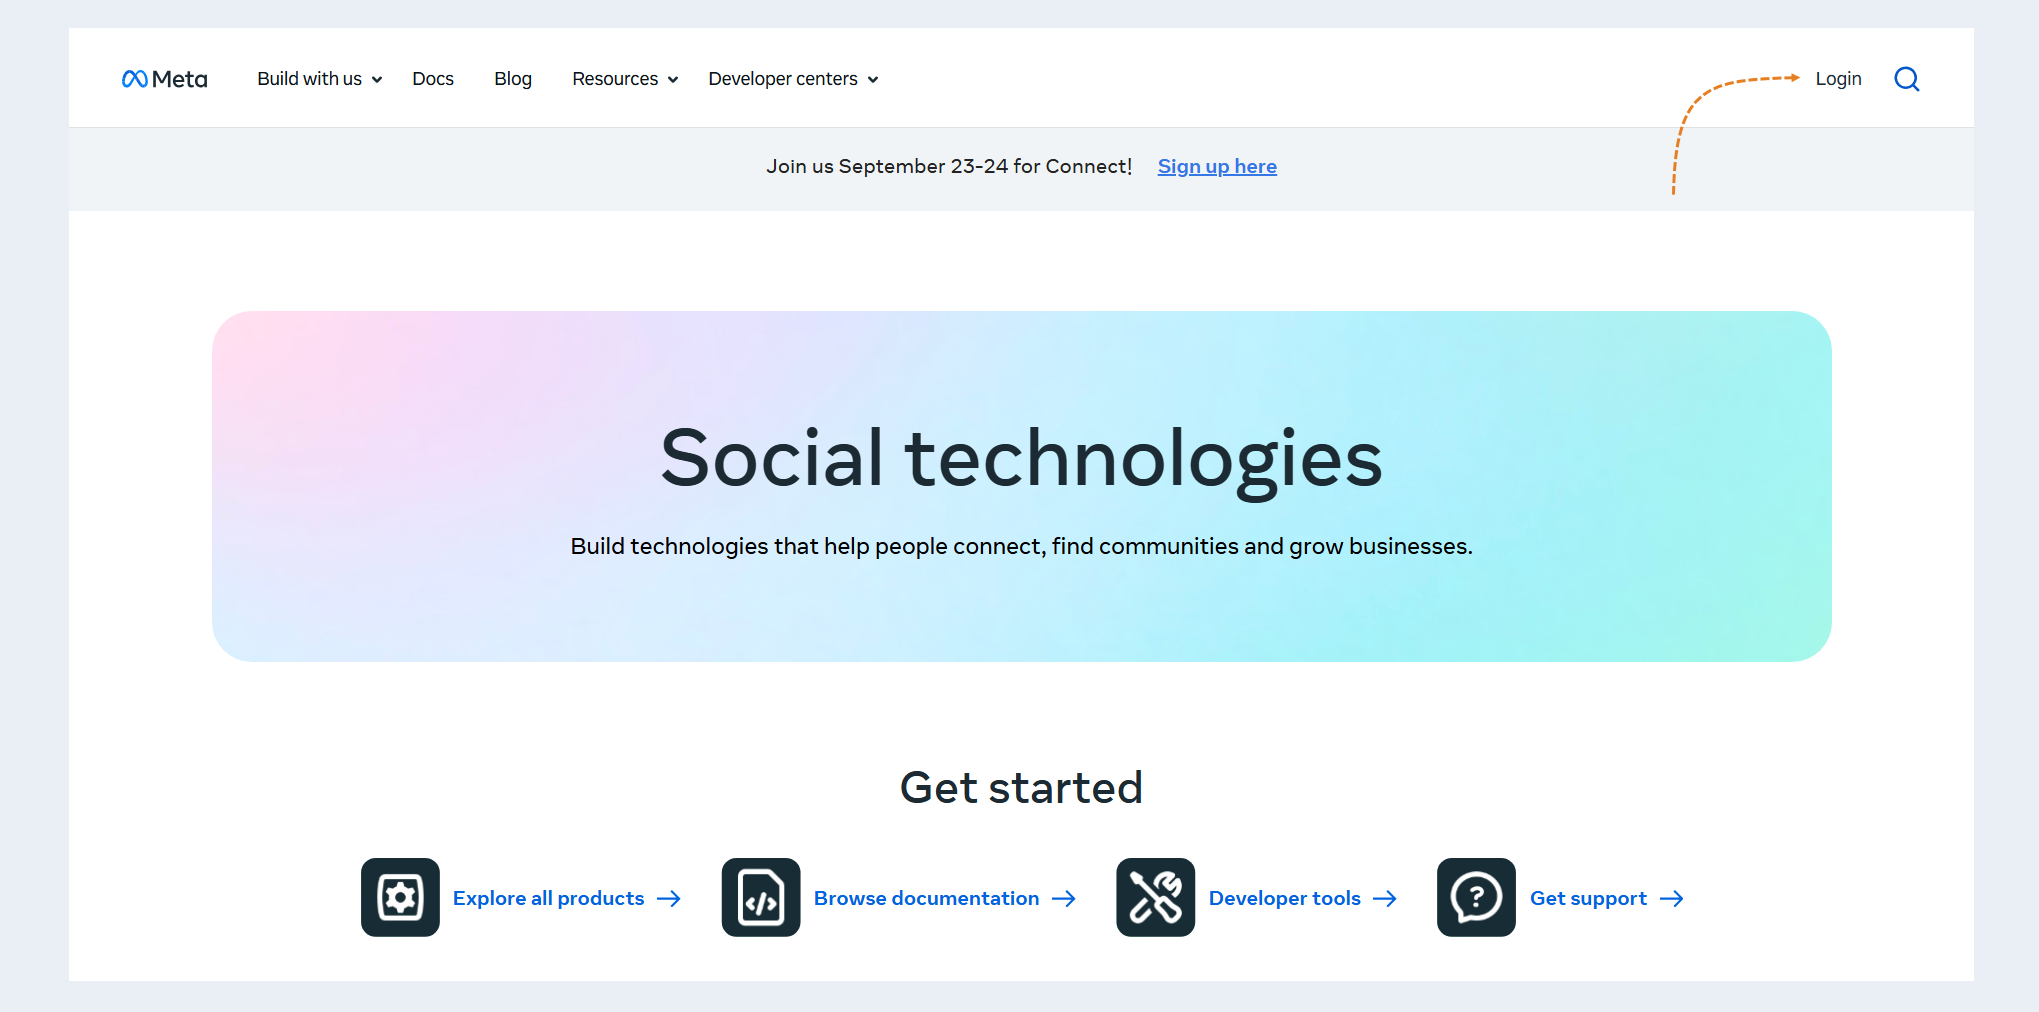
Go to the website. Log in and click the "Log In" button.
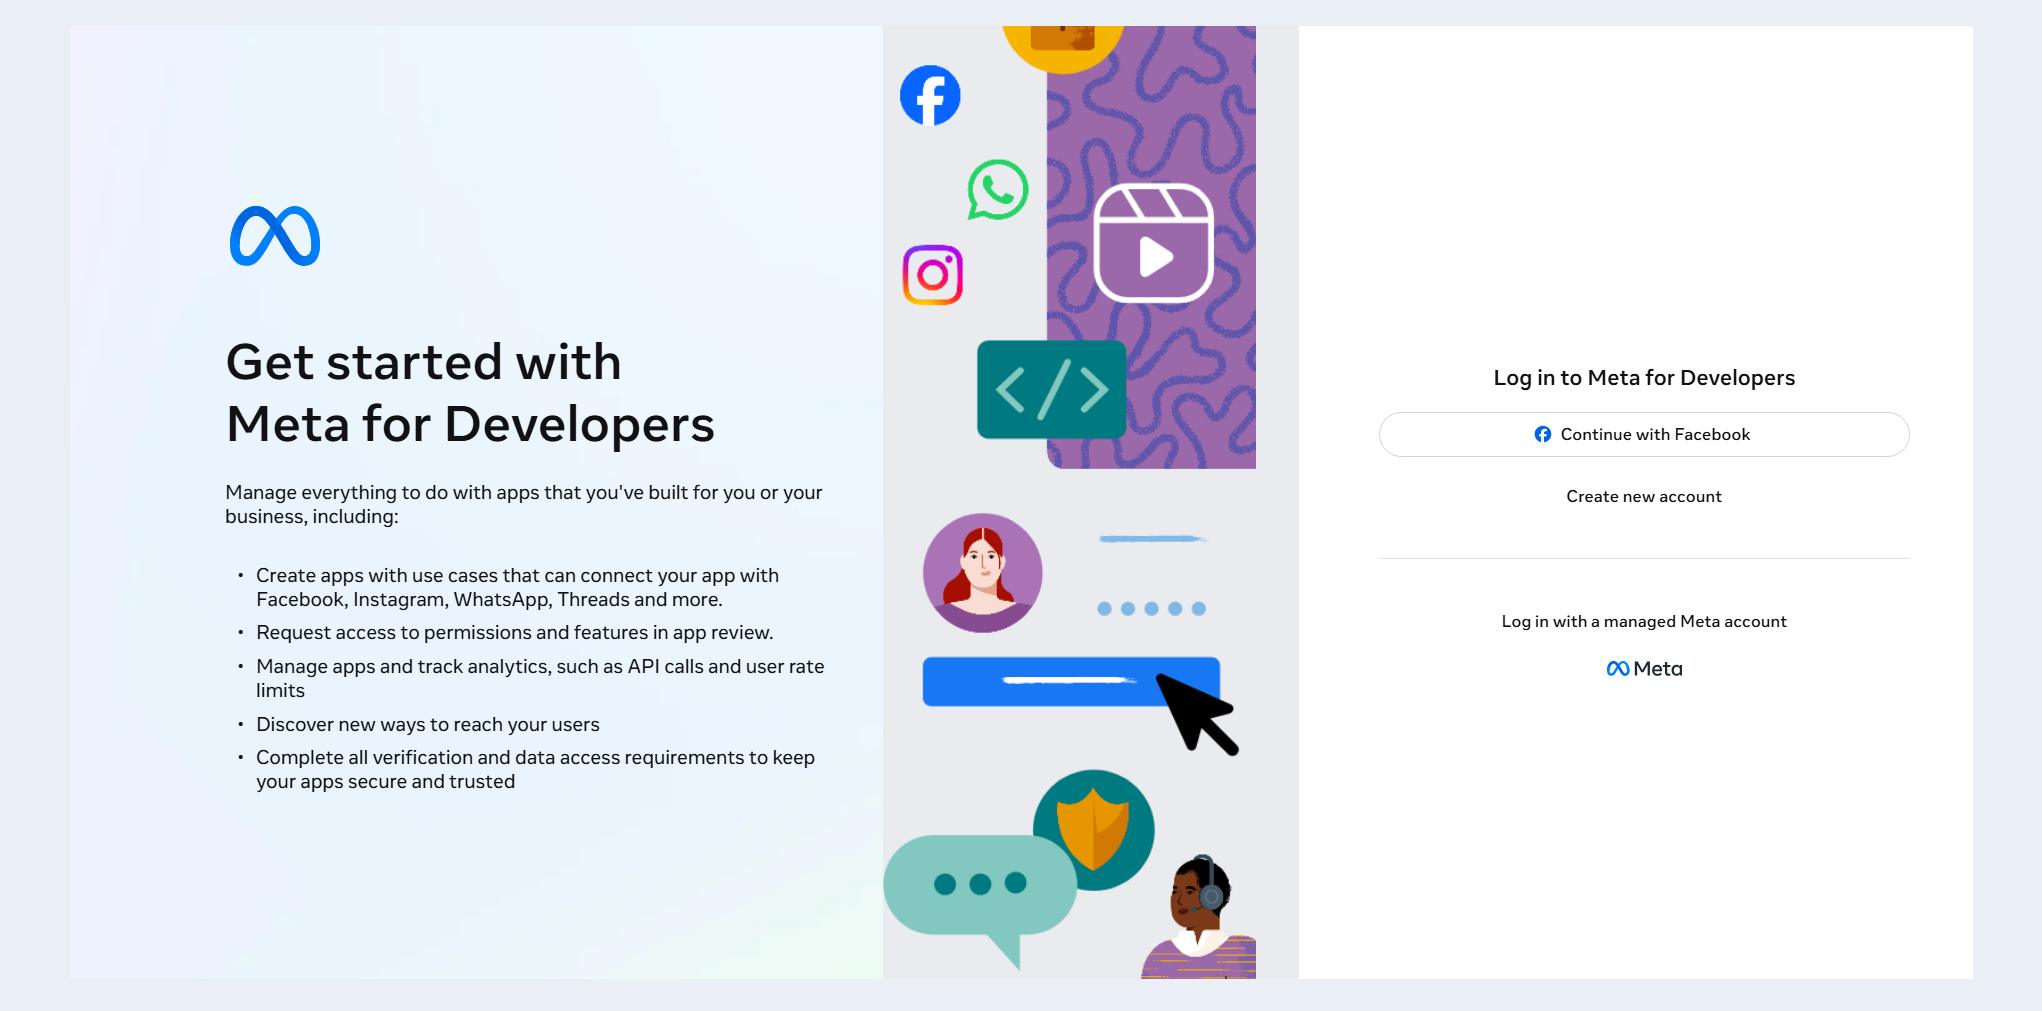
Log in to your Facebook account.
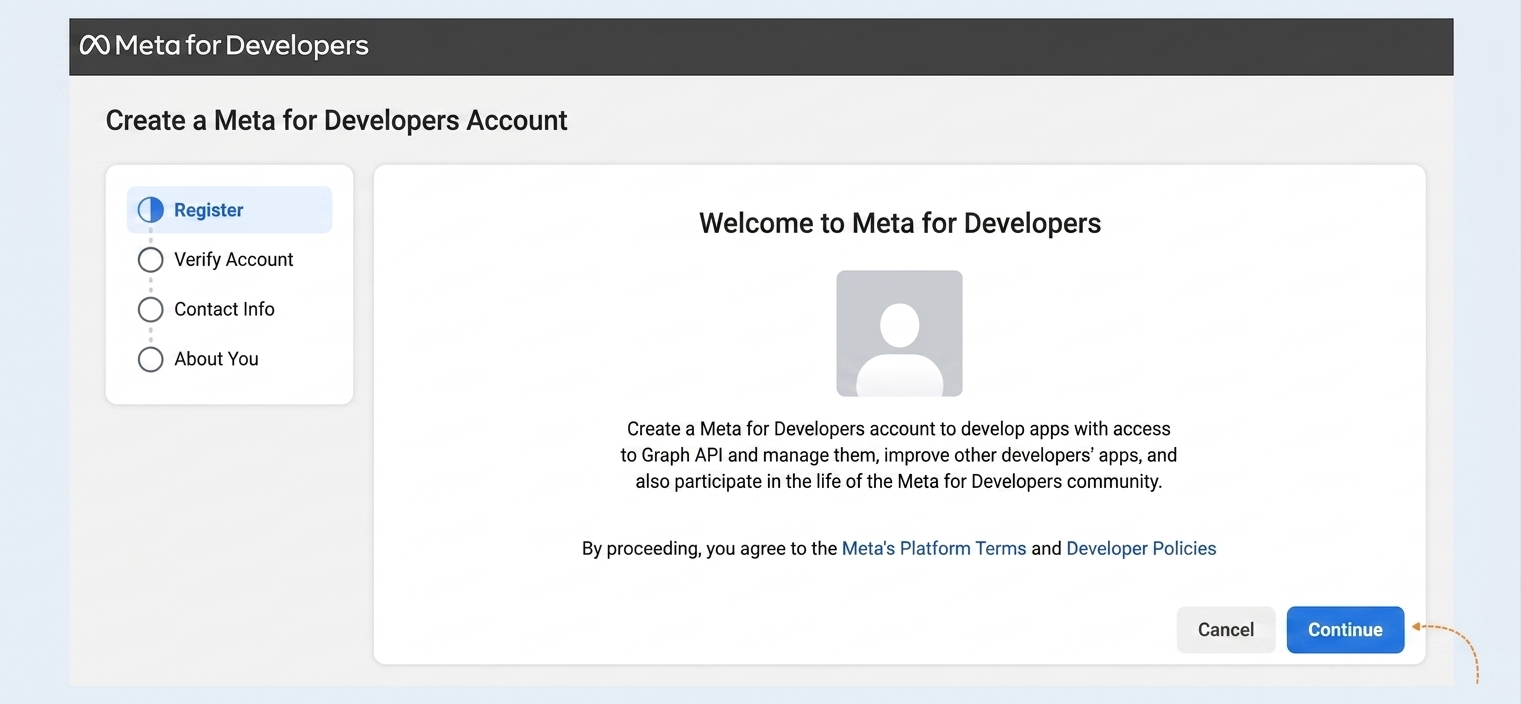
On the page that opens, click "Continue".
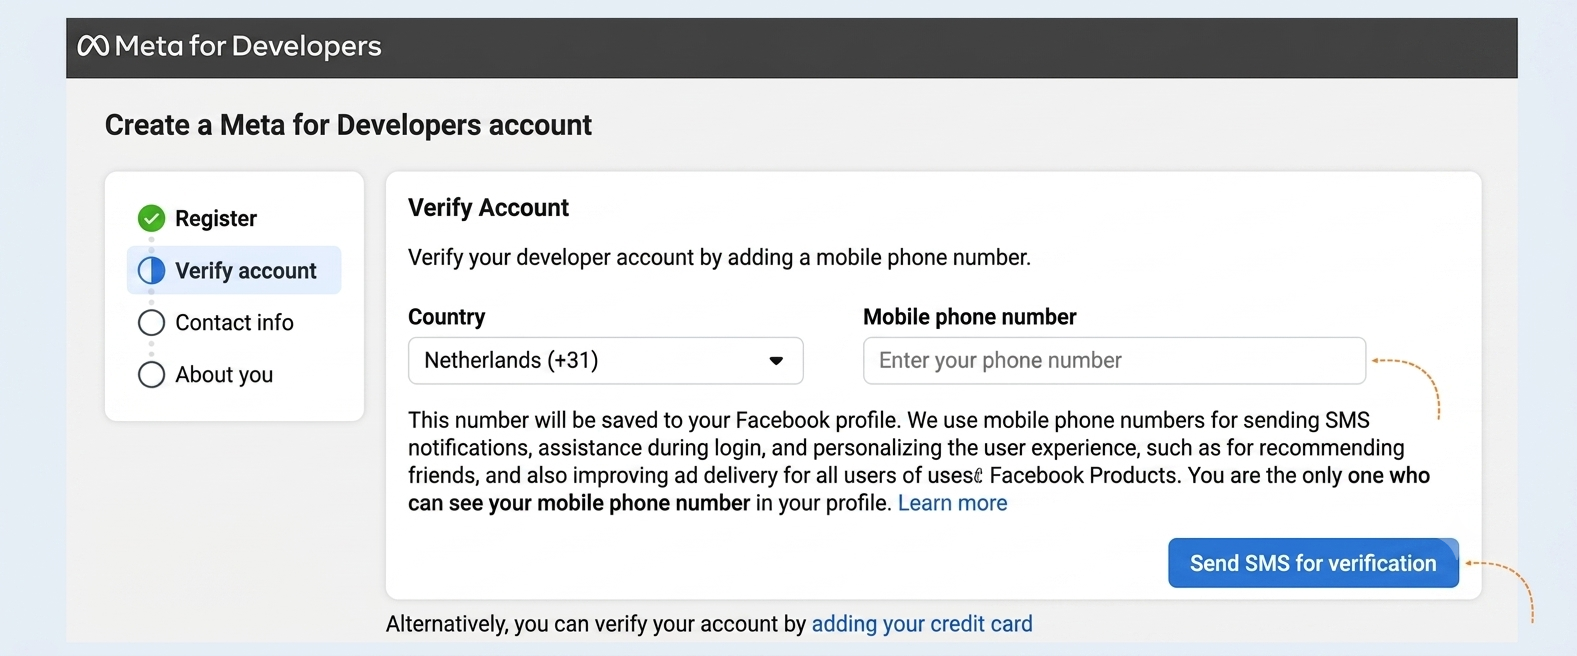
Verify your account by entering your phone number. Click the “Send SMS” button.
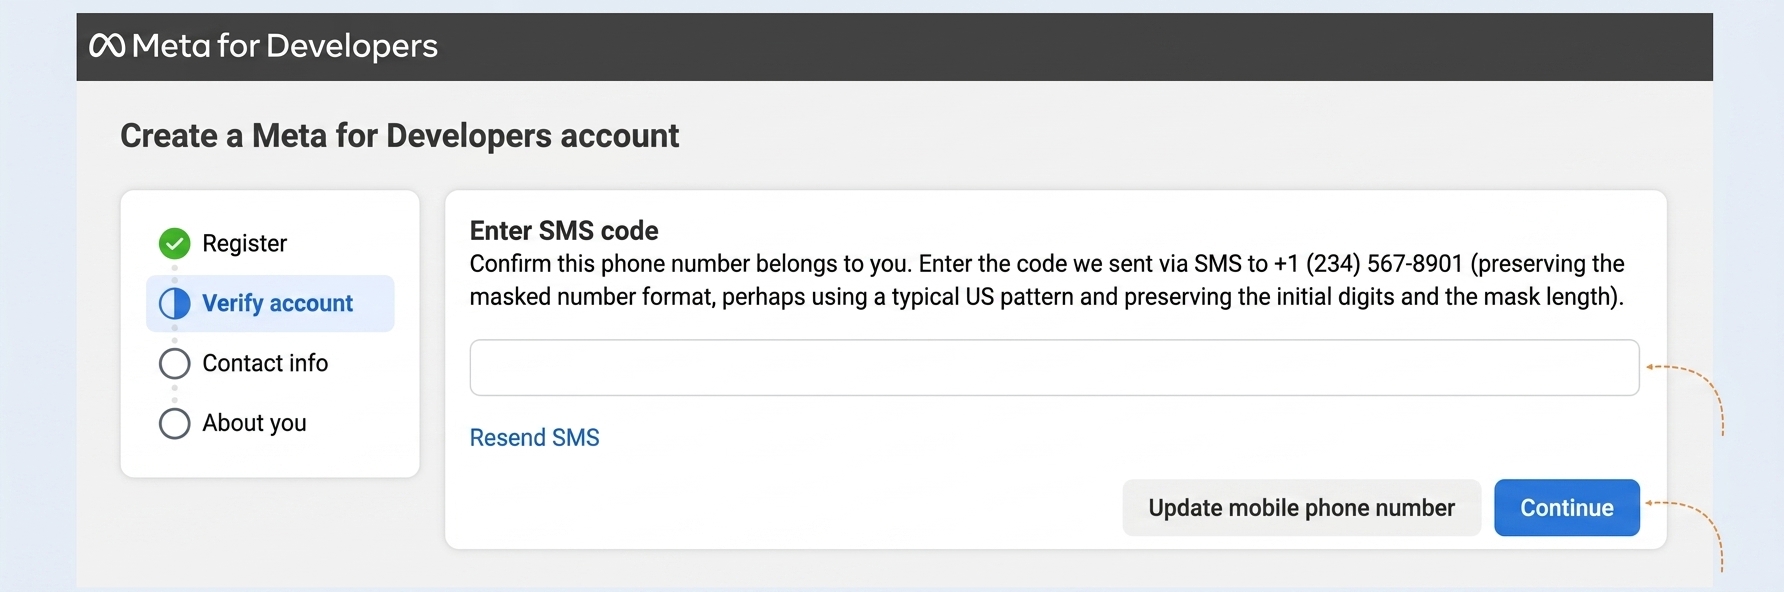
Enter the code from the text message and click the “Continue” button.
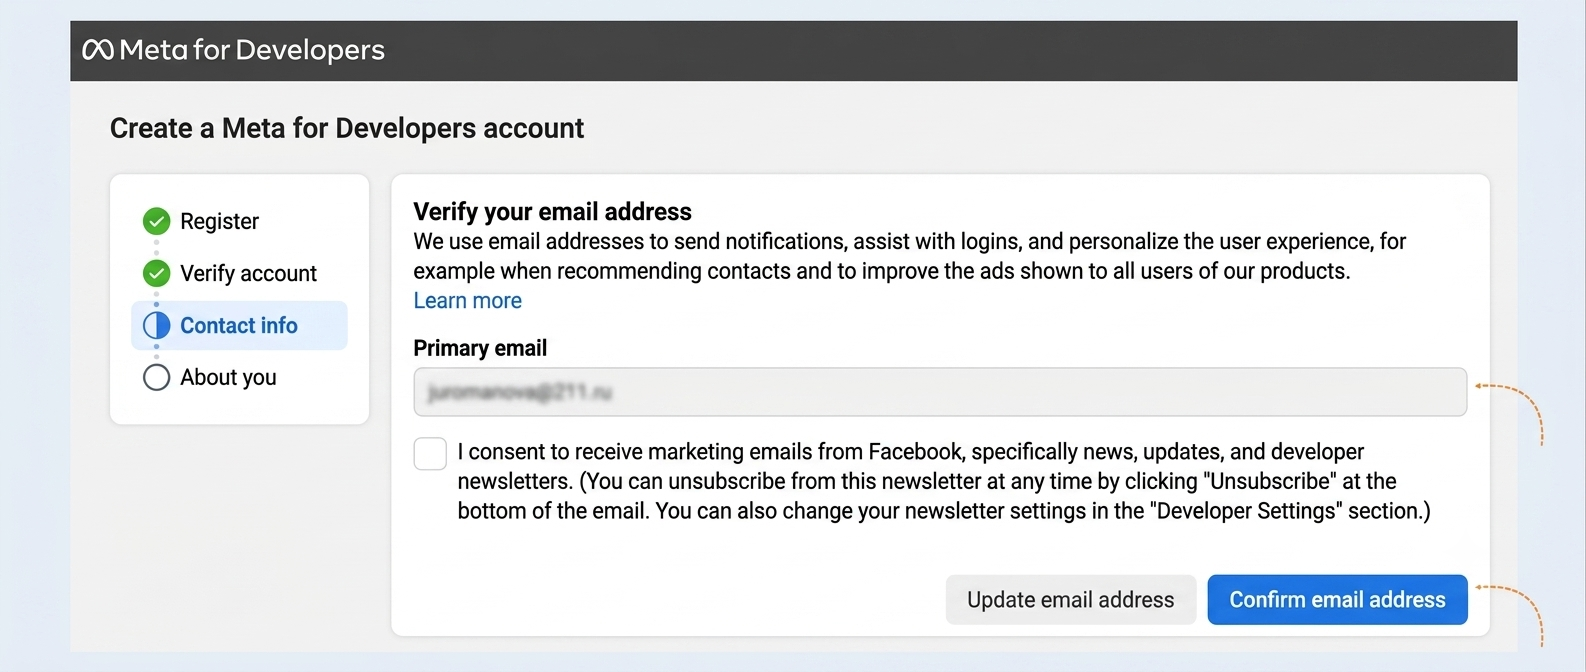
Then check the box and click the “Confirm Email Address” button.
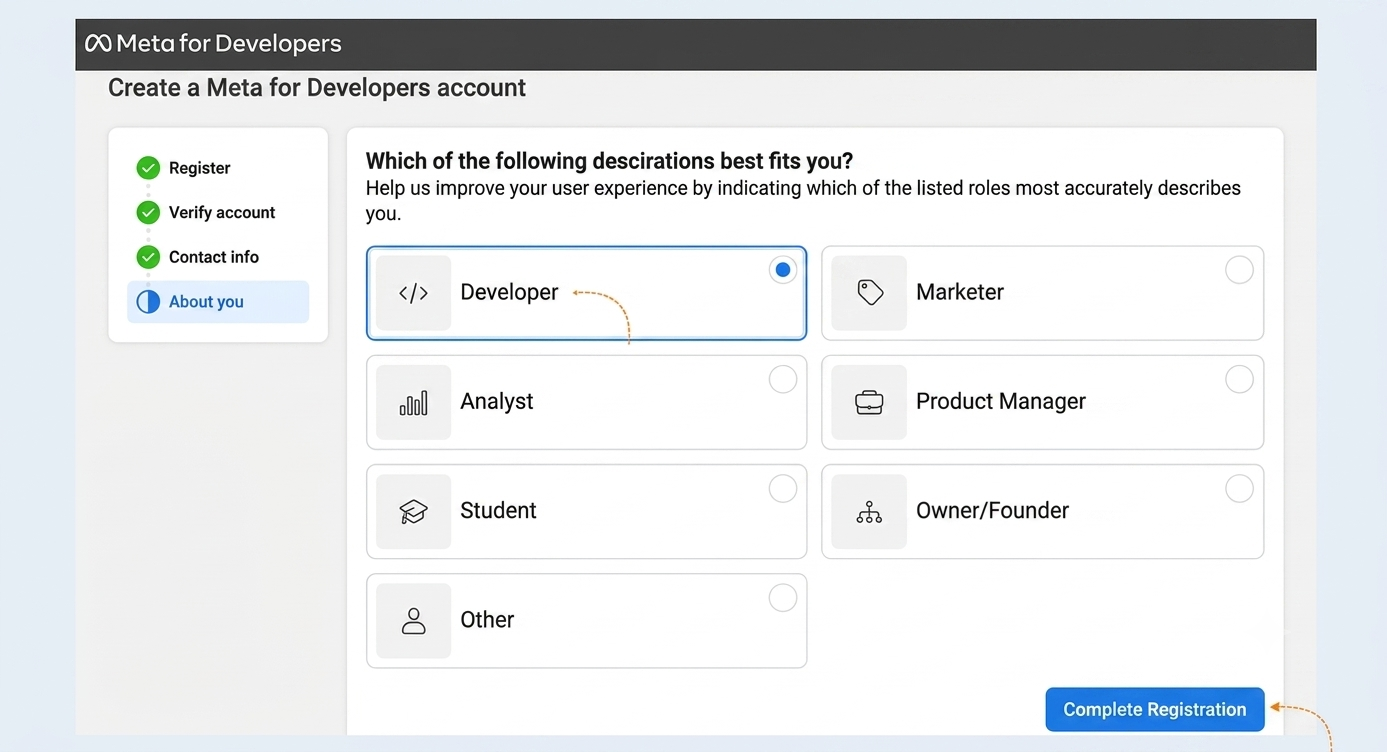
In the next window, select "Developer" and click "Complete registration".
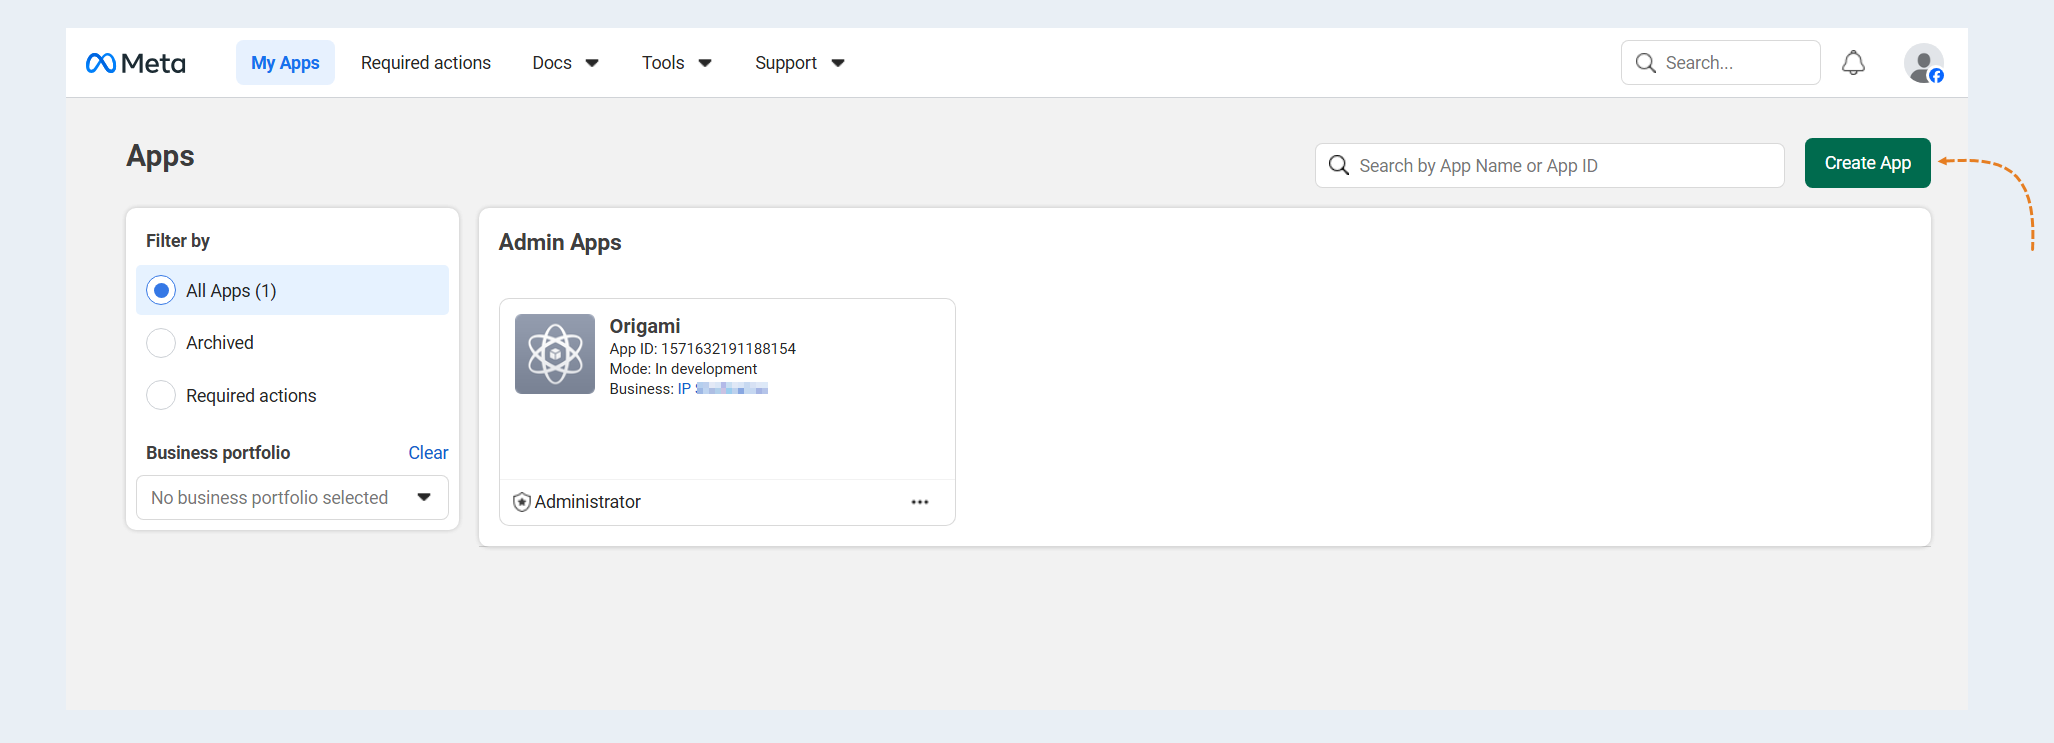
Next, you need to click the "Create app" button.
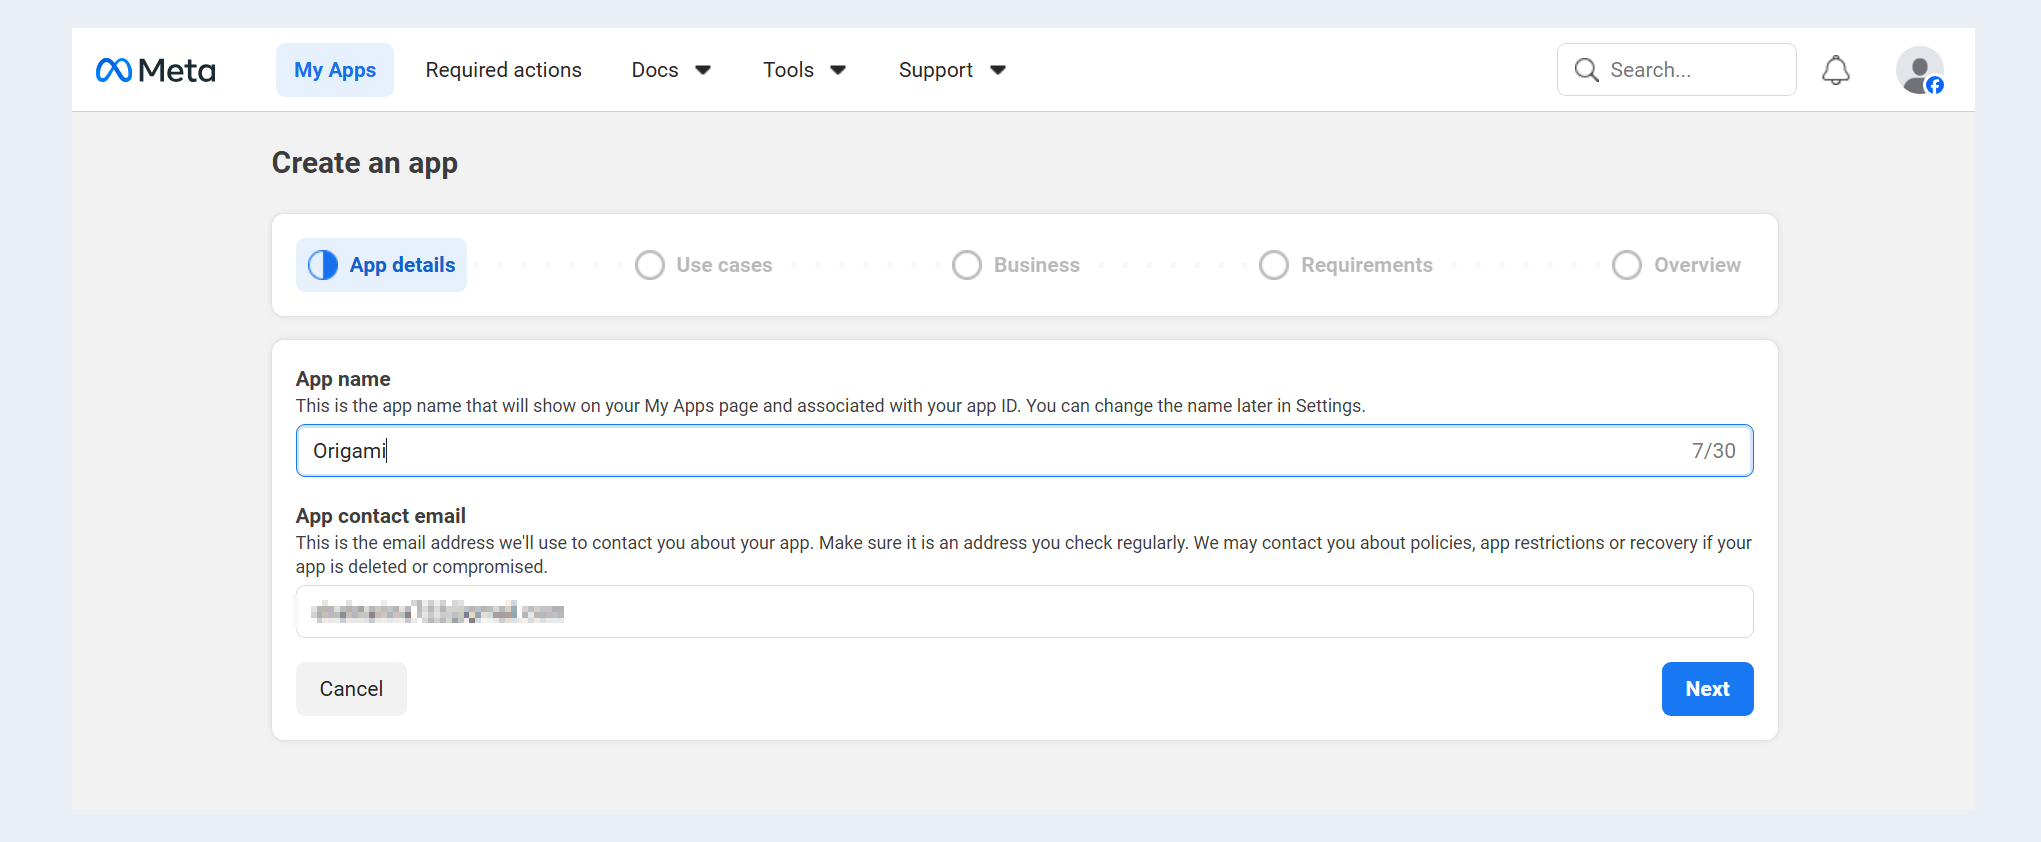
In the next “App details” window, enter any “App Name” and click the “Next” button.
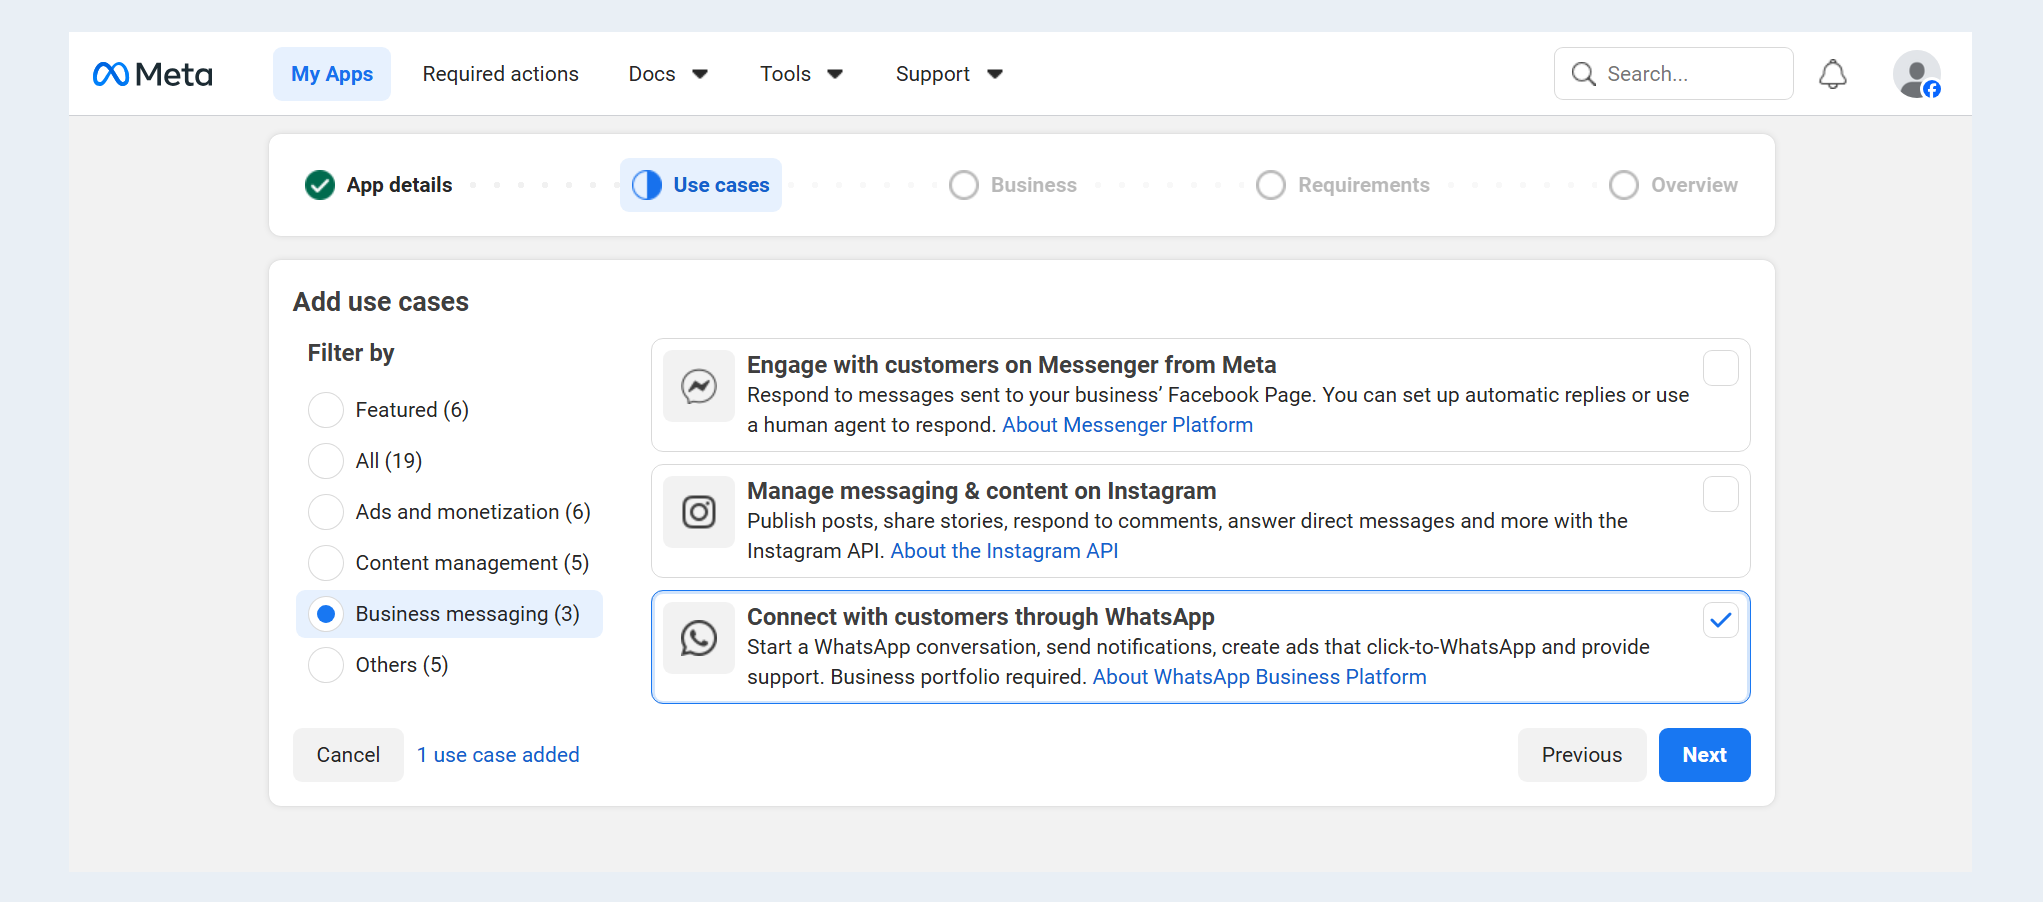
In the “Use Cases” window, select the “Business Messaging” filter and check the box to the right of “Connect with customers through WhatsApp.” Click the “Next” button.
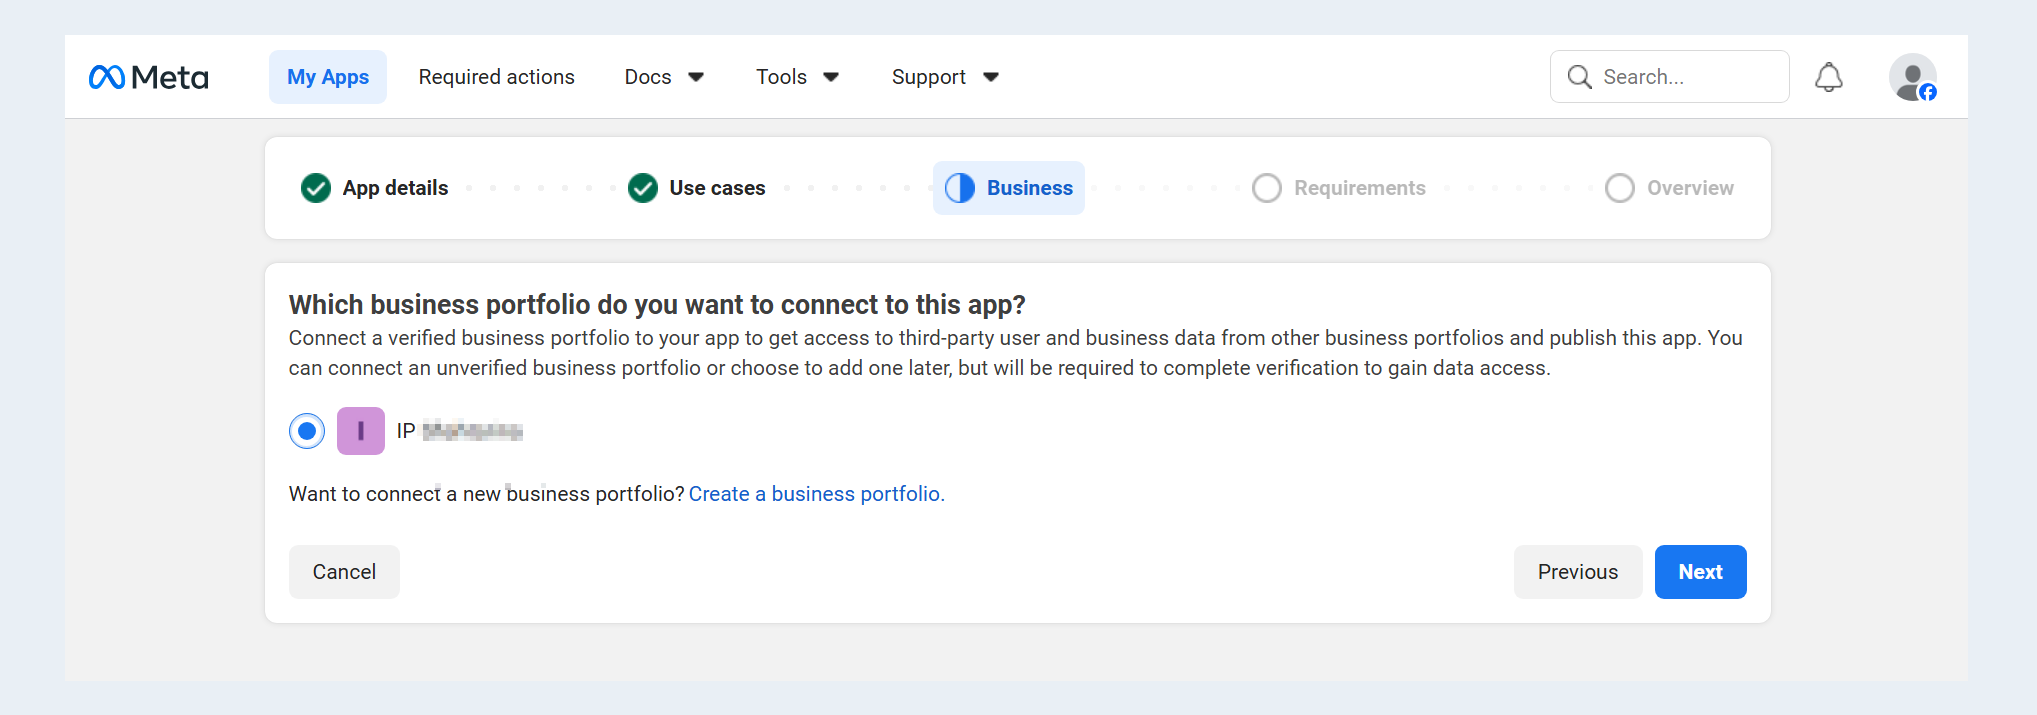
Select an existing Business Portfolio or create a new one. A Facebook Business Portfolio is a free, centralized hub for managing all your commercial assets across the Meta ecosystem. Click “Next.”
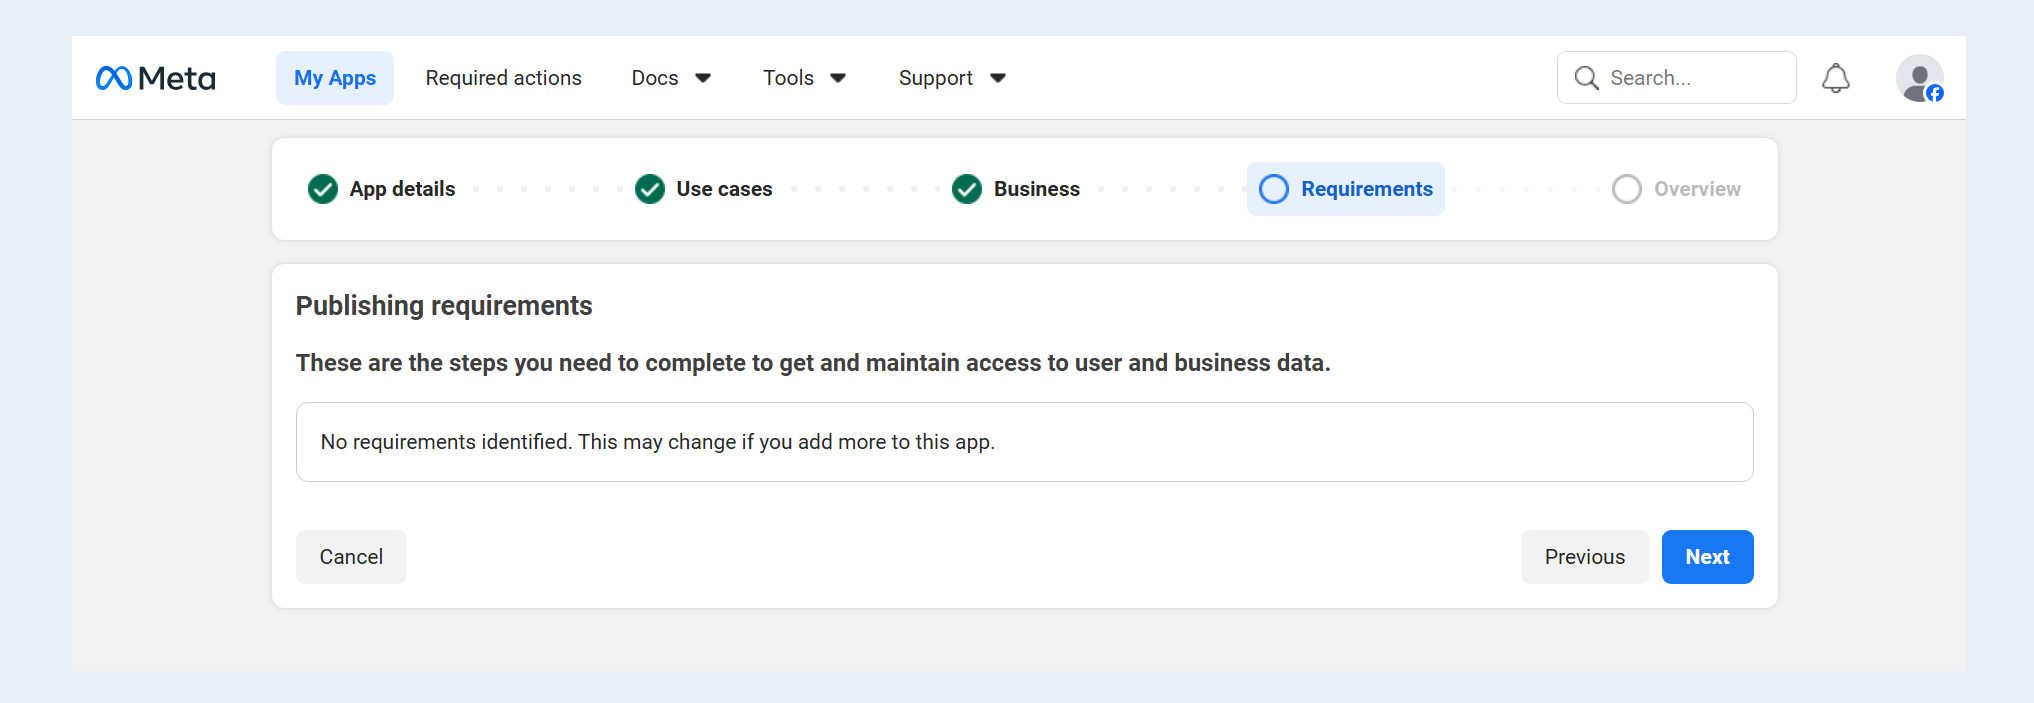
The next step will display a list of publication requirements. Complete the necessary requirements, and if there are none, click the “Next” button.
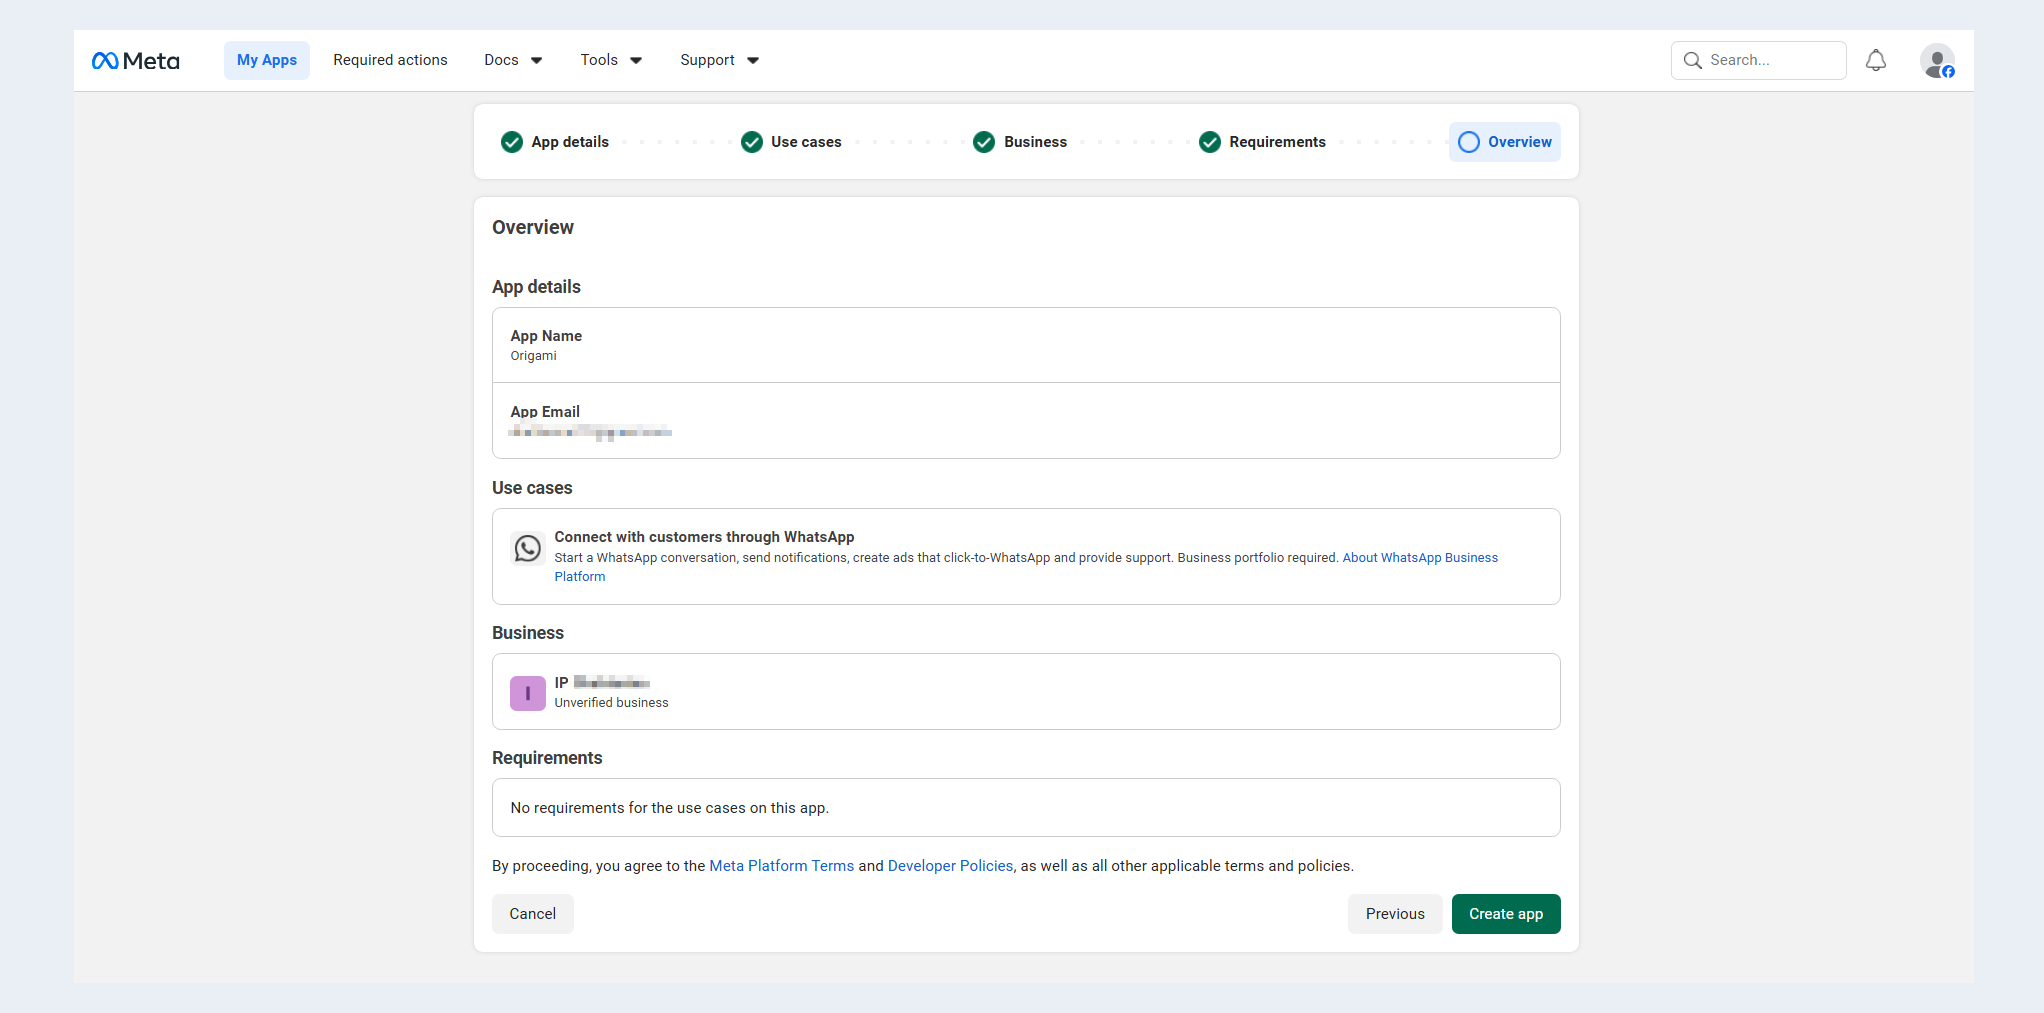
Please review the information you entered earlier. By clicking the “Create App” button, you agree to the “Meta Platform Terms,” the “Developer Guidelines,” and all other applicable terms and guidelines.
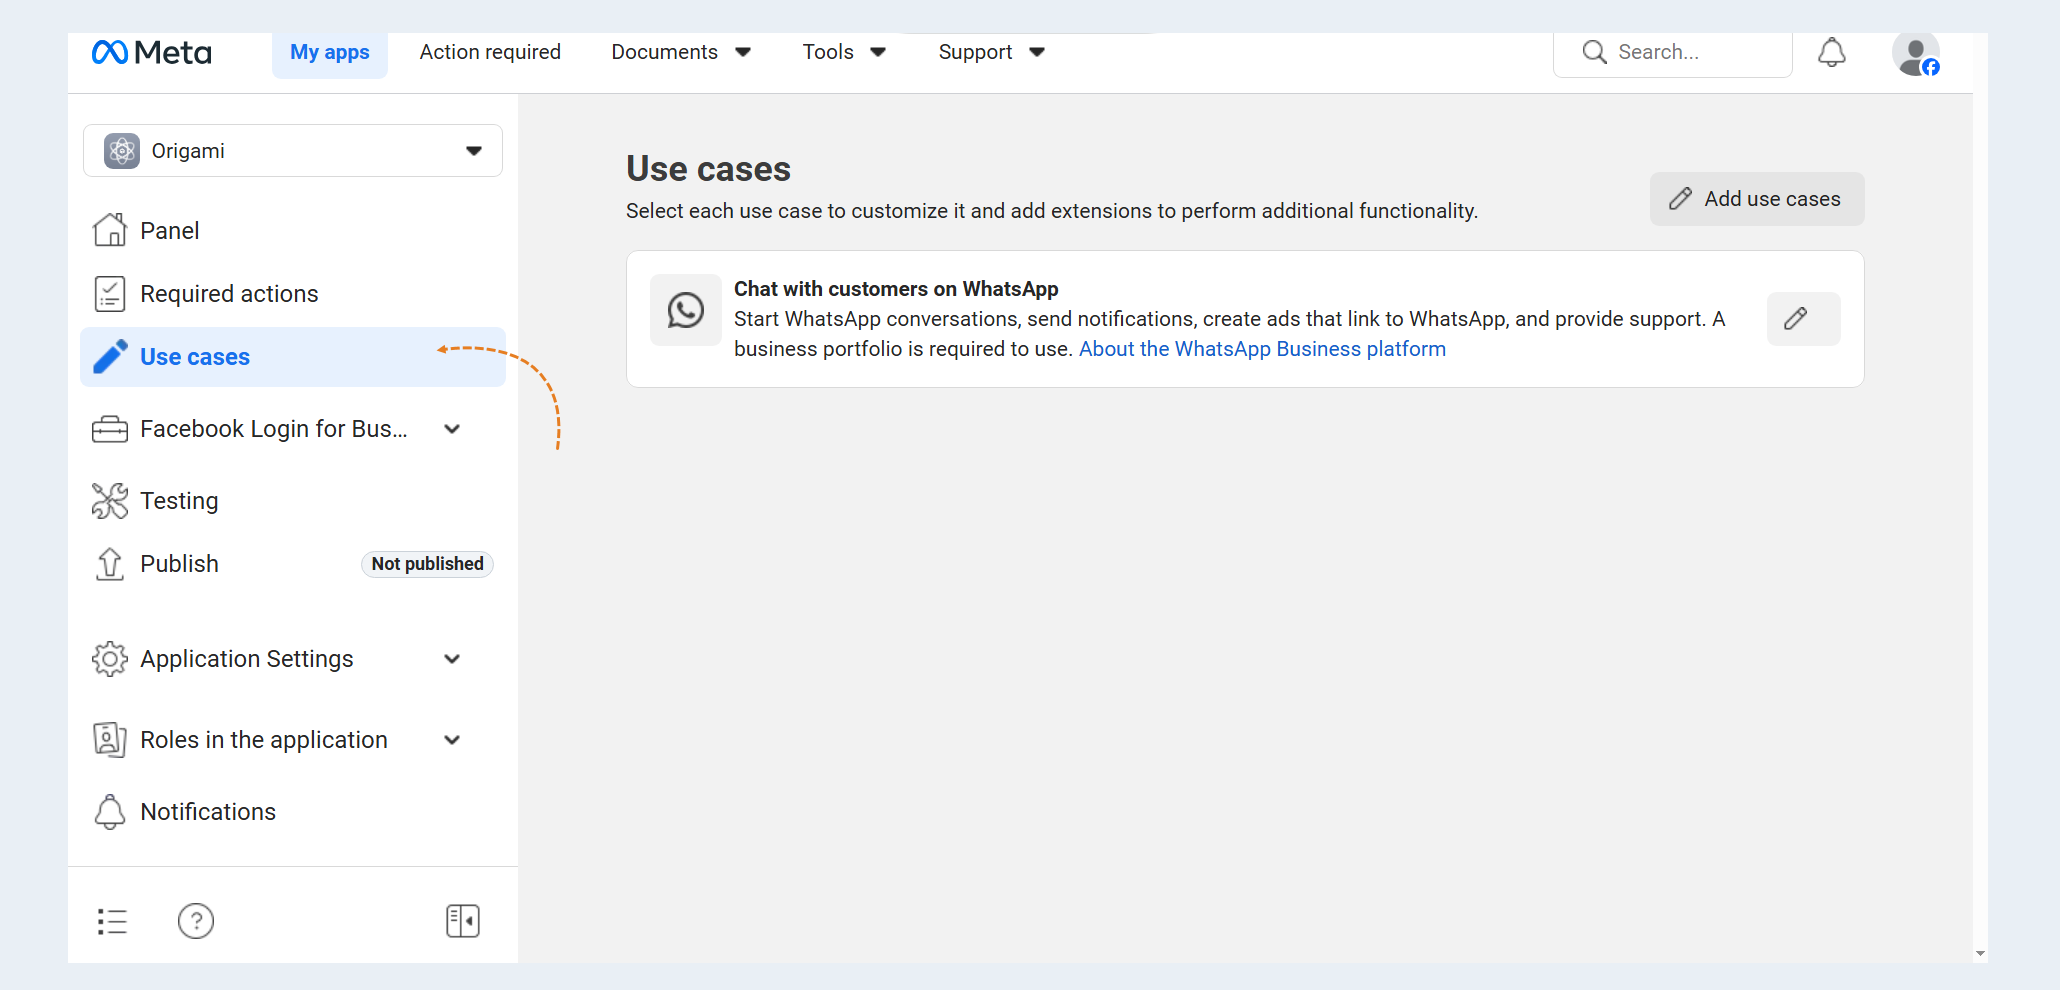
Next, go to the “Use Cases” section.
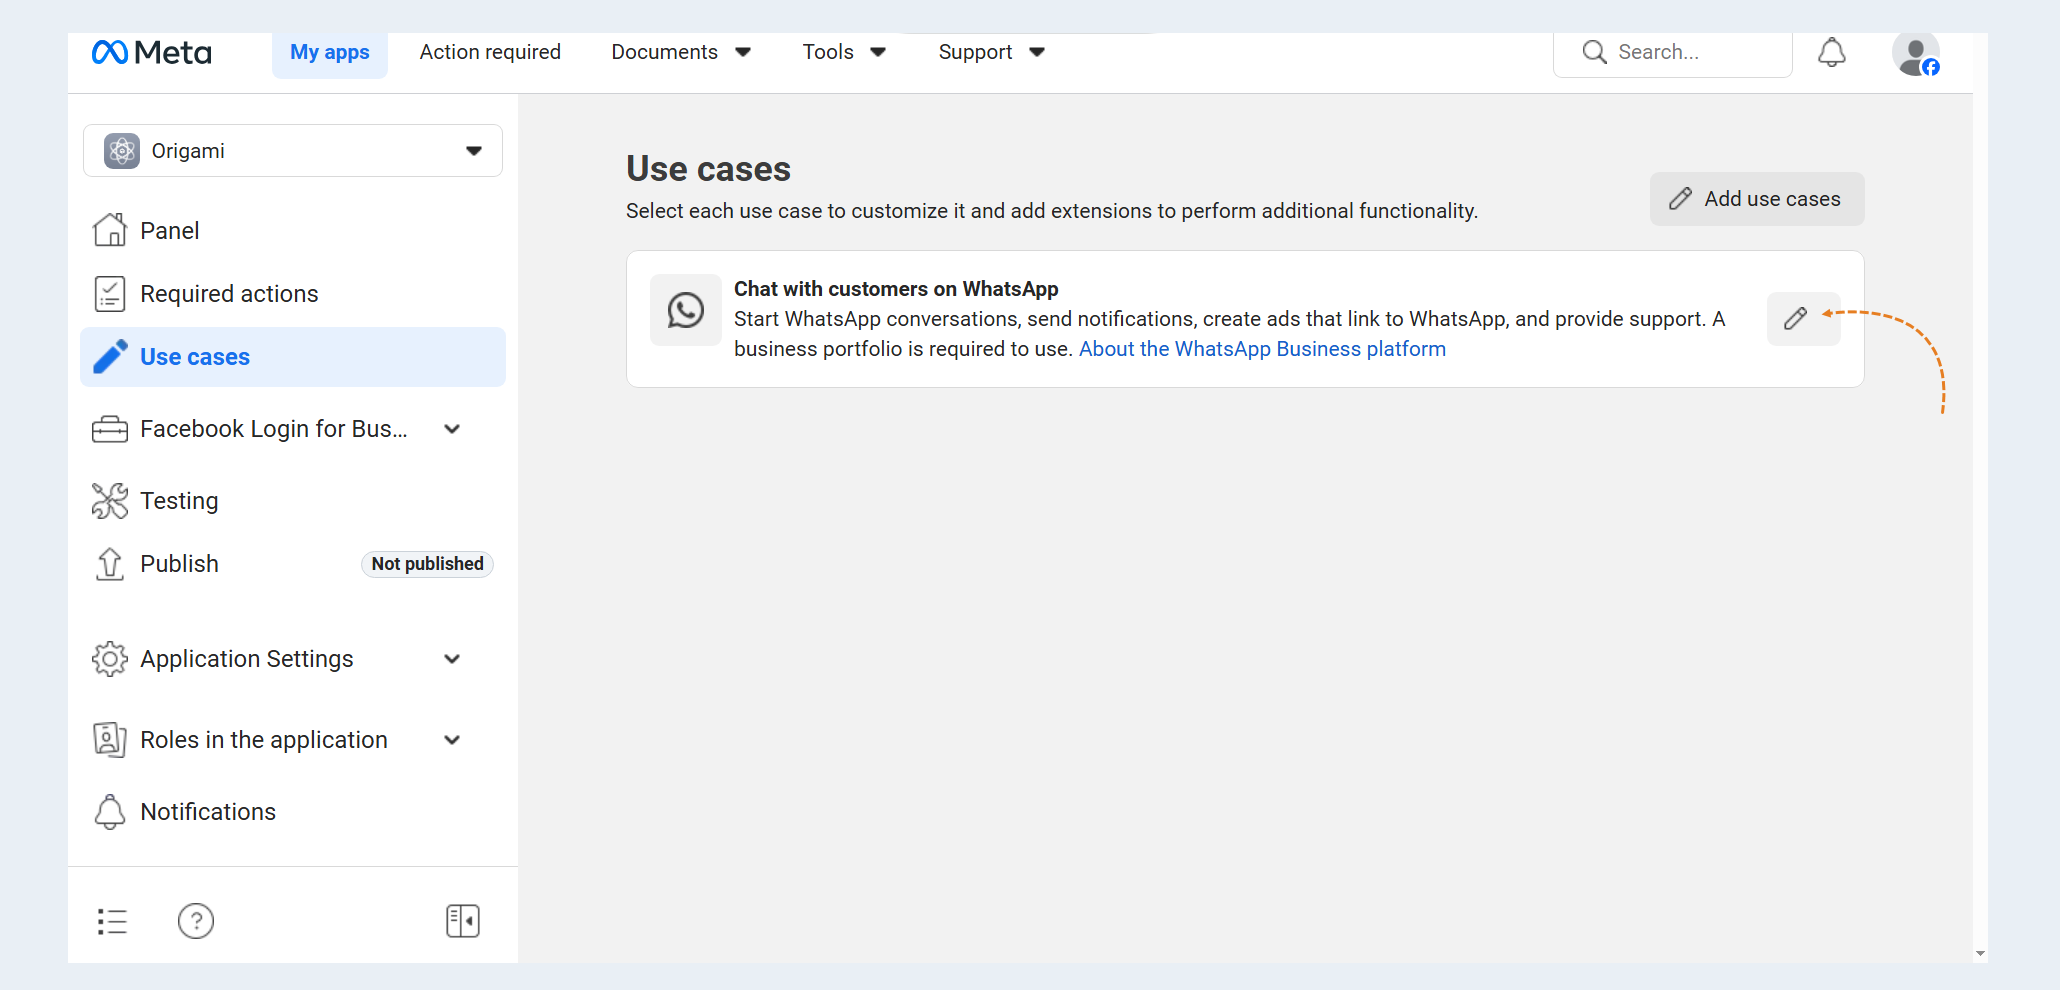
In the list, find the “Communicating with customers on WhatsApp” use case and click the “Configure” button next to it.
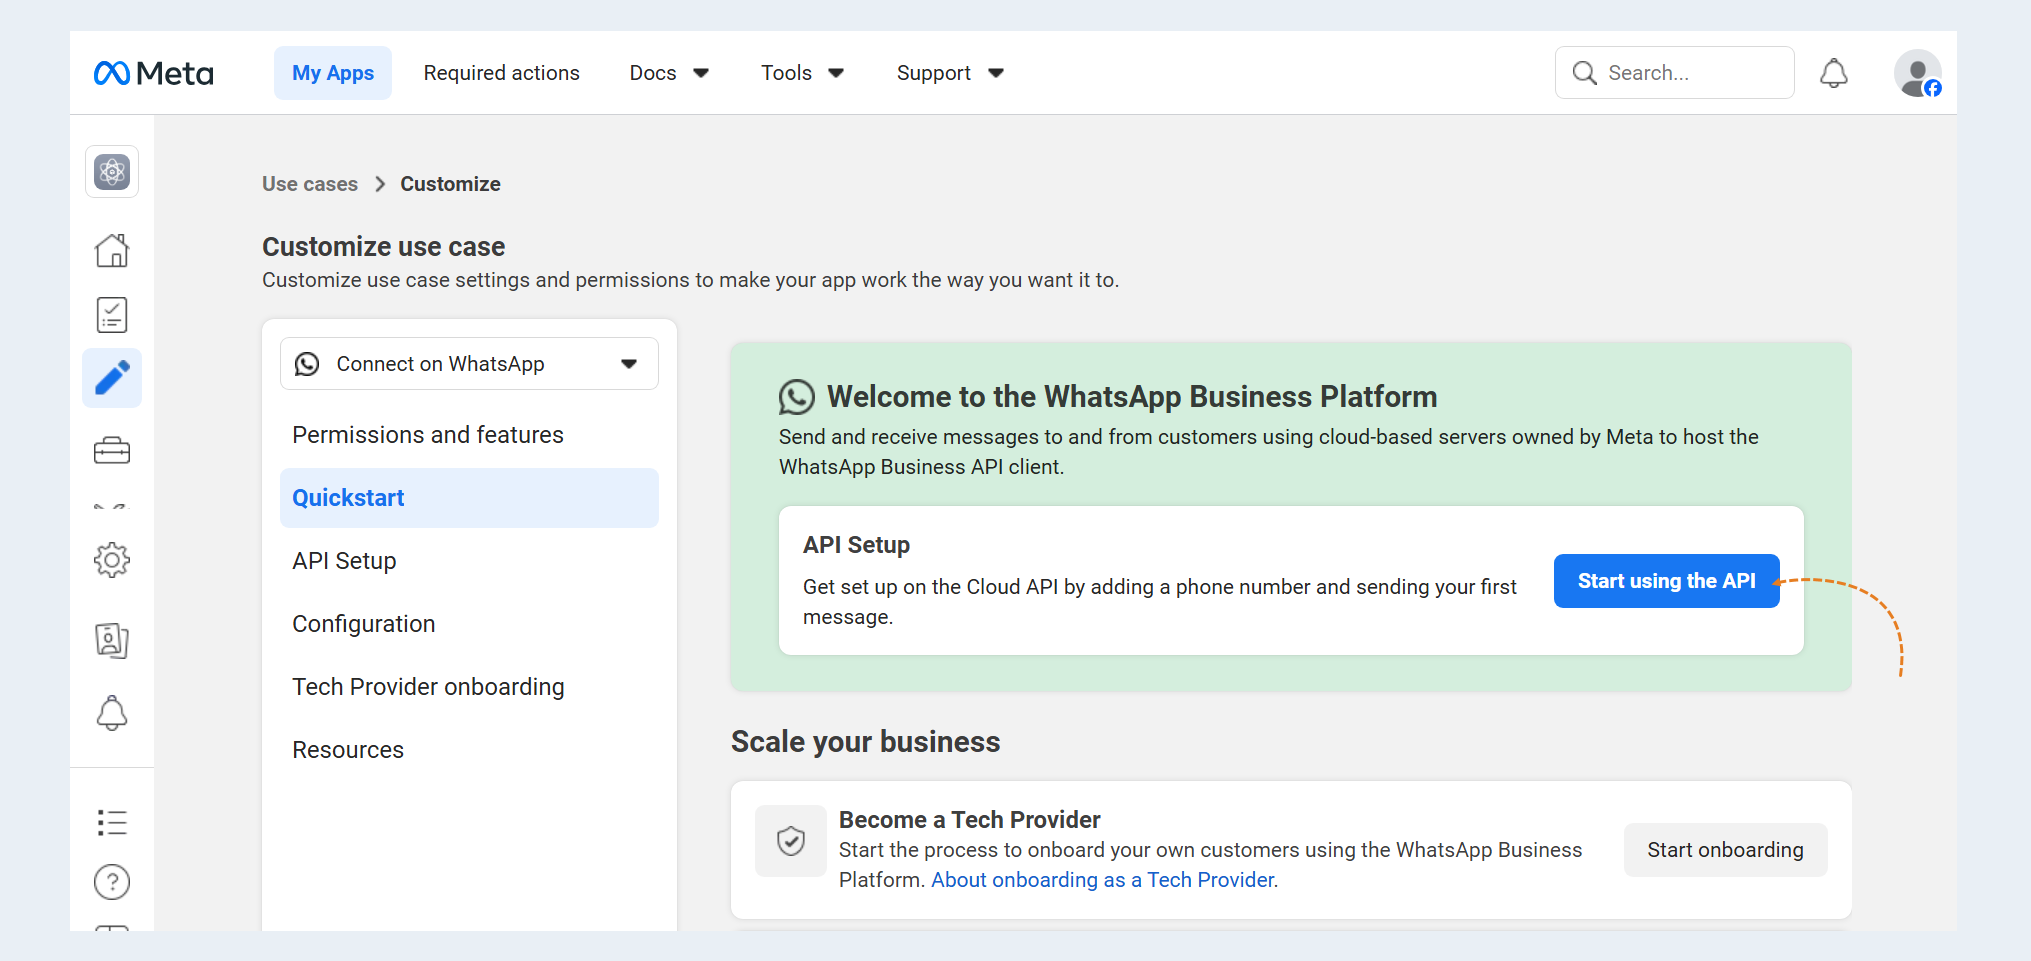
On the welcome page, click "Start using the API".
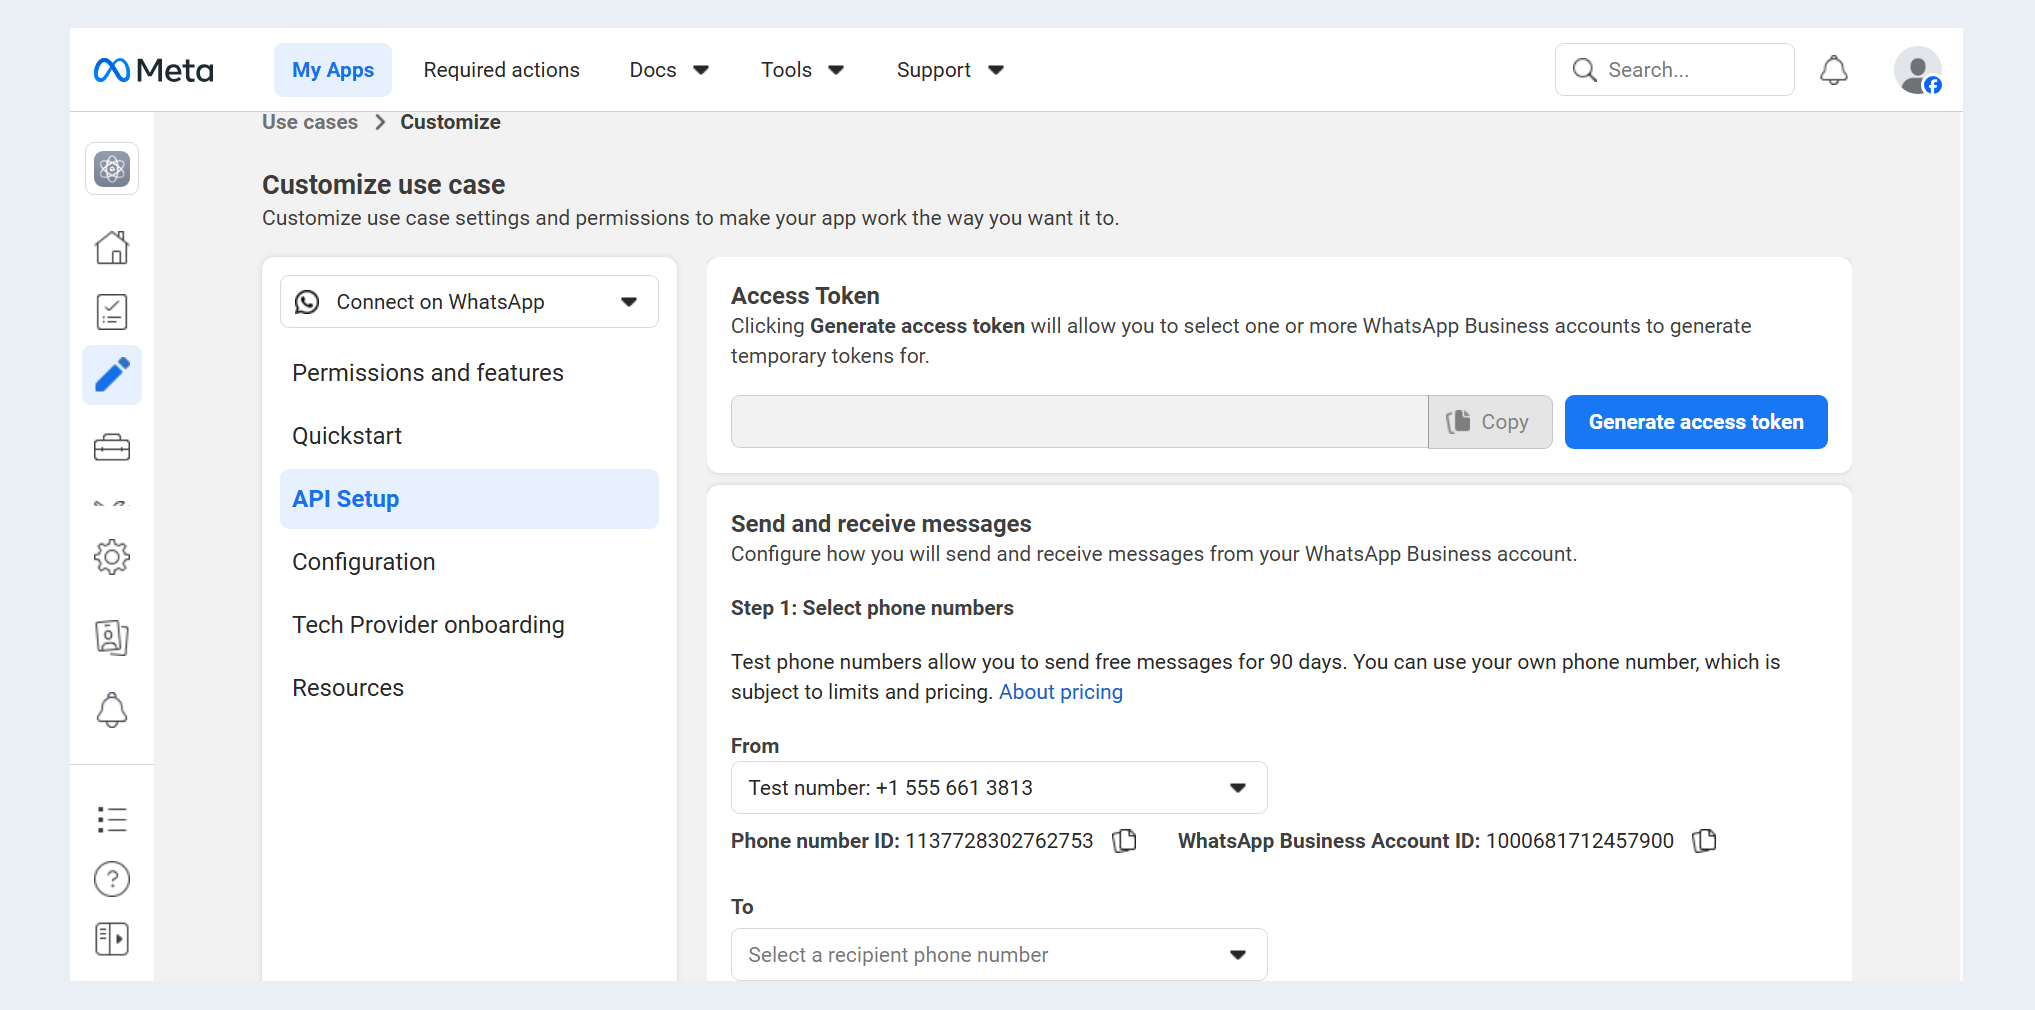
In the “Send and receive” section, you must select the phone numbers from which messages will be sent.
2
Creating a WhatsApp channel on the AXL platform
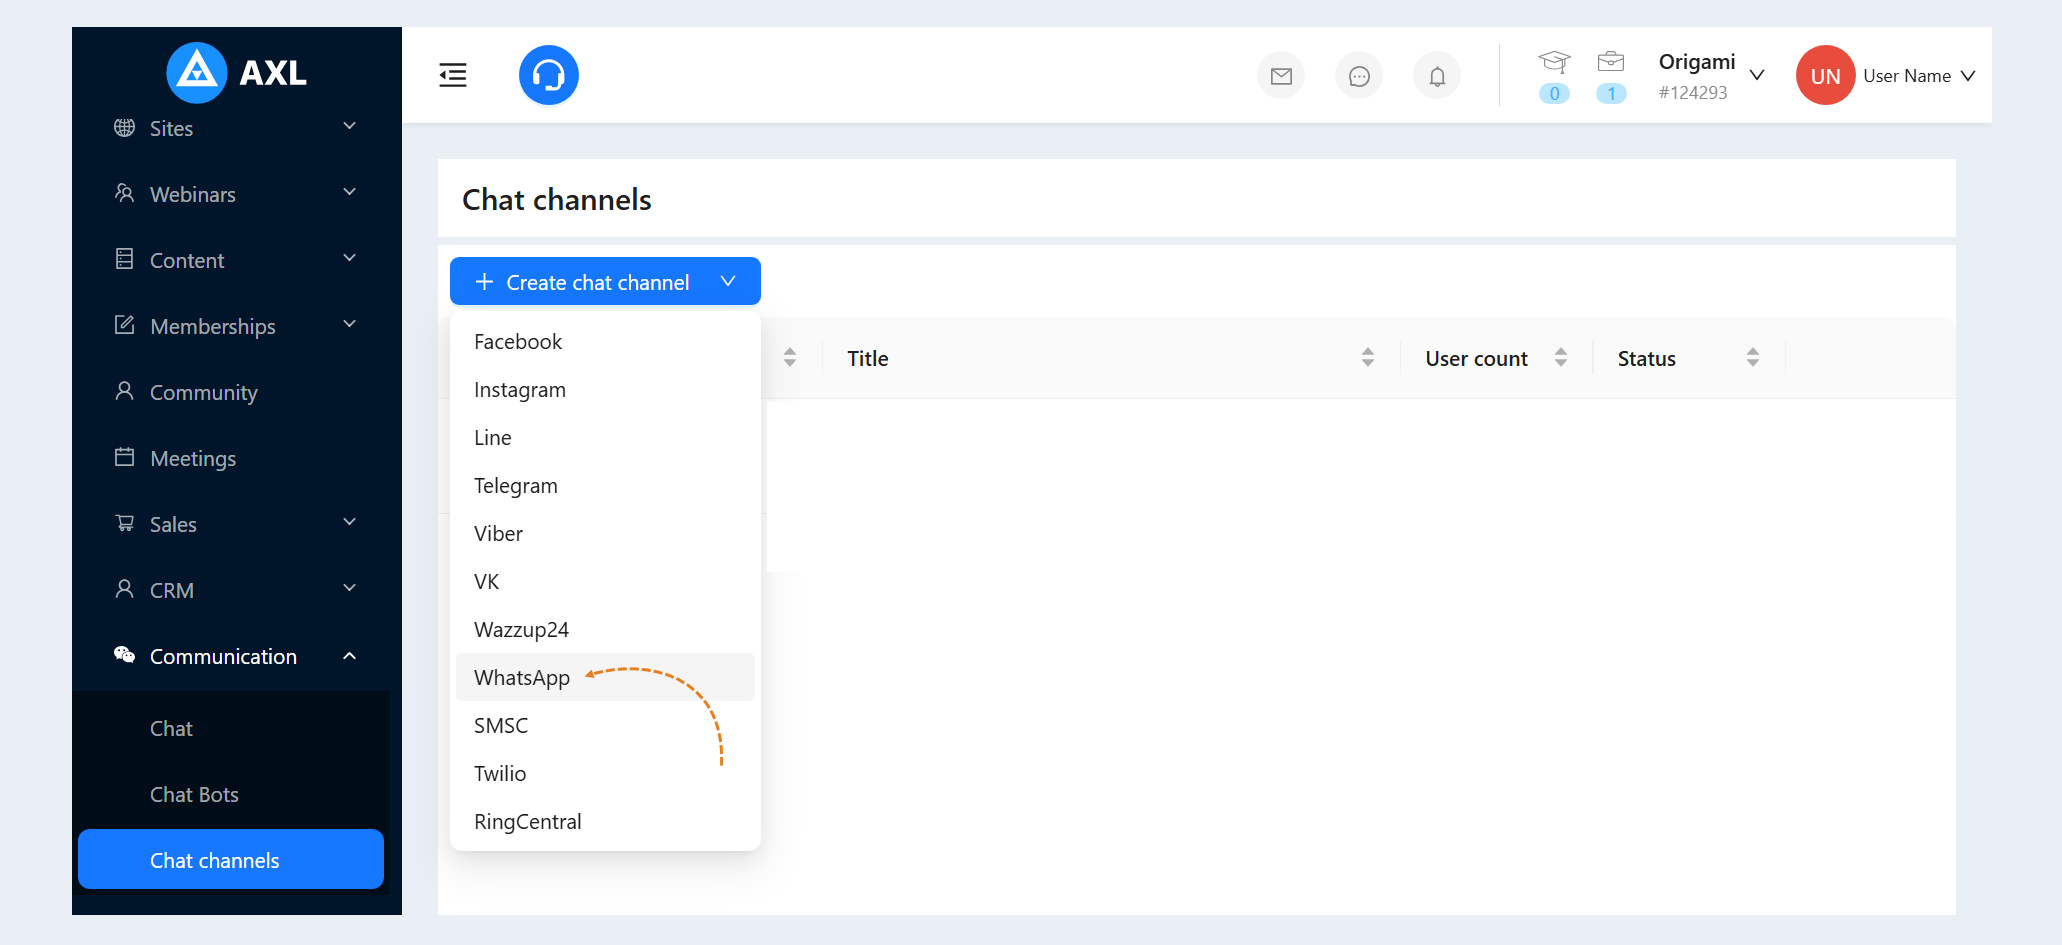
Open your account on the AXL platform. Go to the "Communication" section, the "Chat Channels" tab. Click the "Create Channel" button and select the "WhatsApp" line in the list of channels.
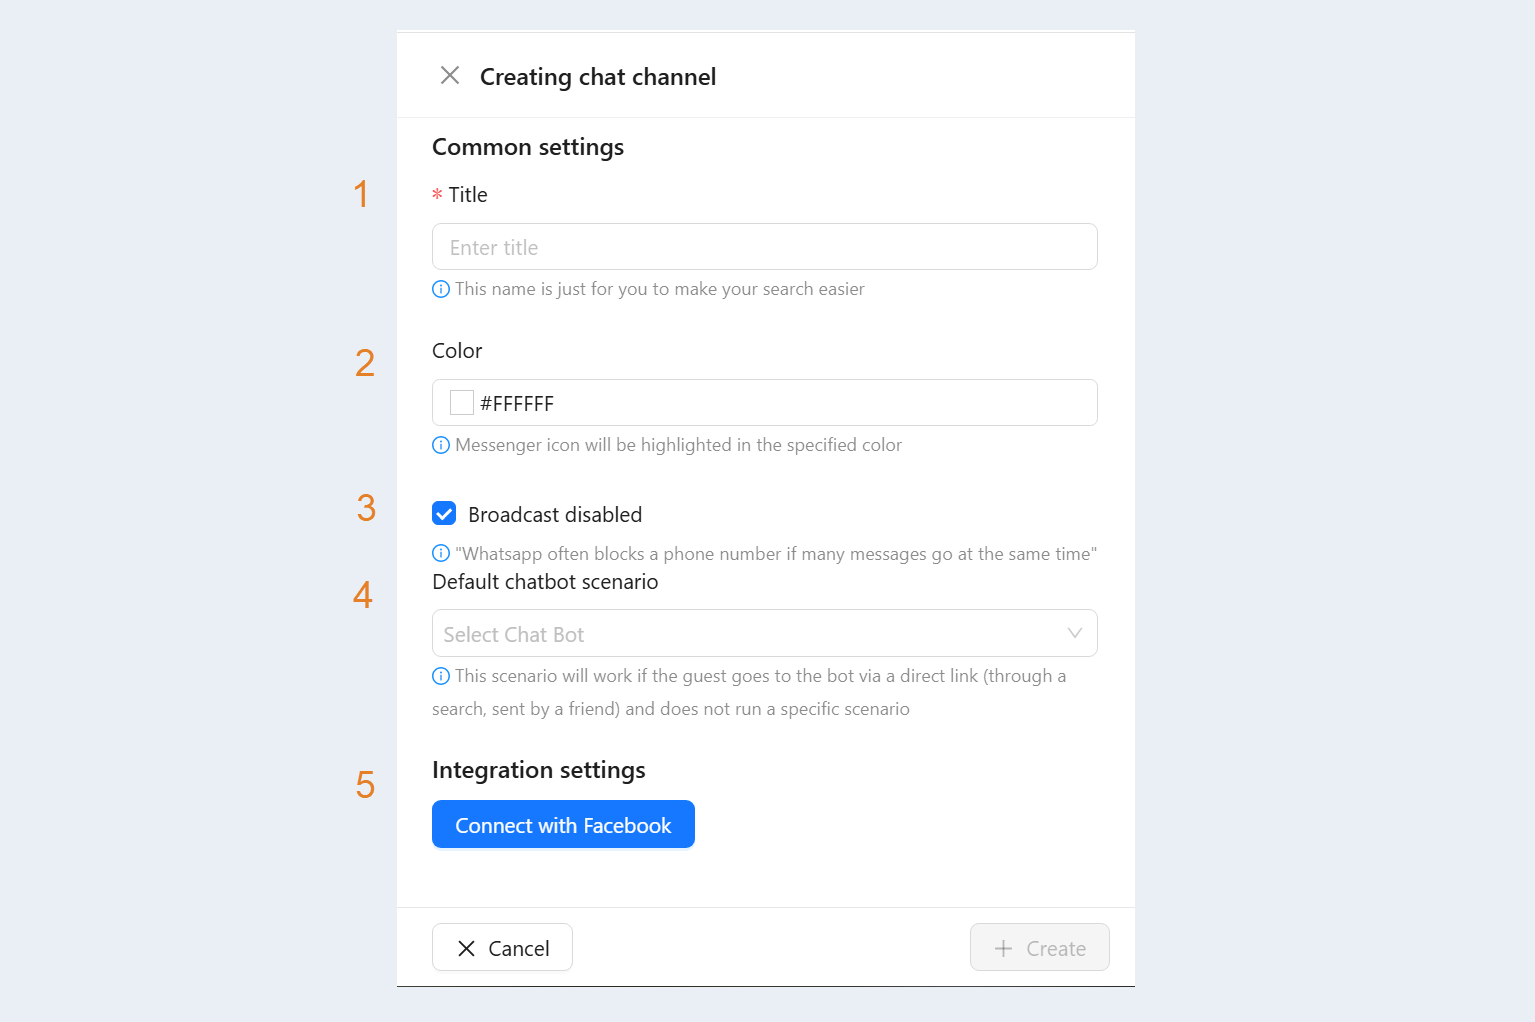
An additional window will open for you. Fill in the fields:
- Title. Enter the name of your channel.
Color. Set the color of the messenger icon.
Broadcast disabled. Check the box to disconnect this channel from the mailing list.
Default chatbot scenario. Select a scenario from the list. This scenario will work if the guest goes to the bot via a direct link (through a search, sent by a friend) and does not run a specific scenario.
Connect with Facebook. Complete the channel setup using Facebook.
Click “Connect via Facebook” to continue setting up your WhatsApp channel. You'll see a pop-up window titled “Log in via Facebook for Business.” Log in via Facebook.
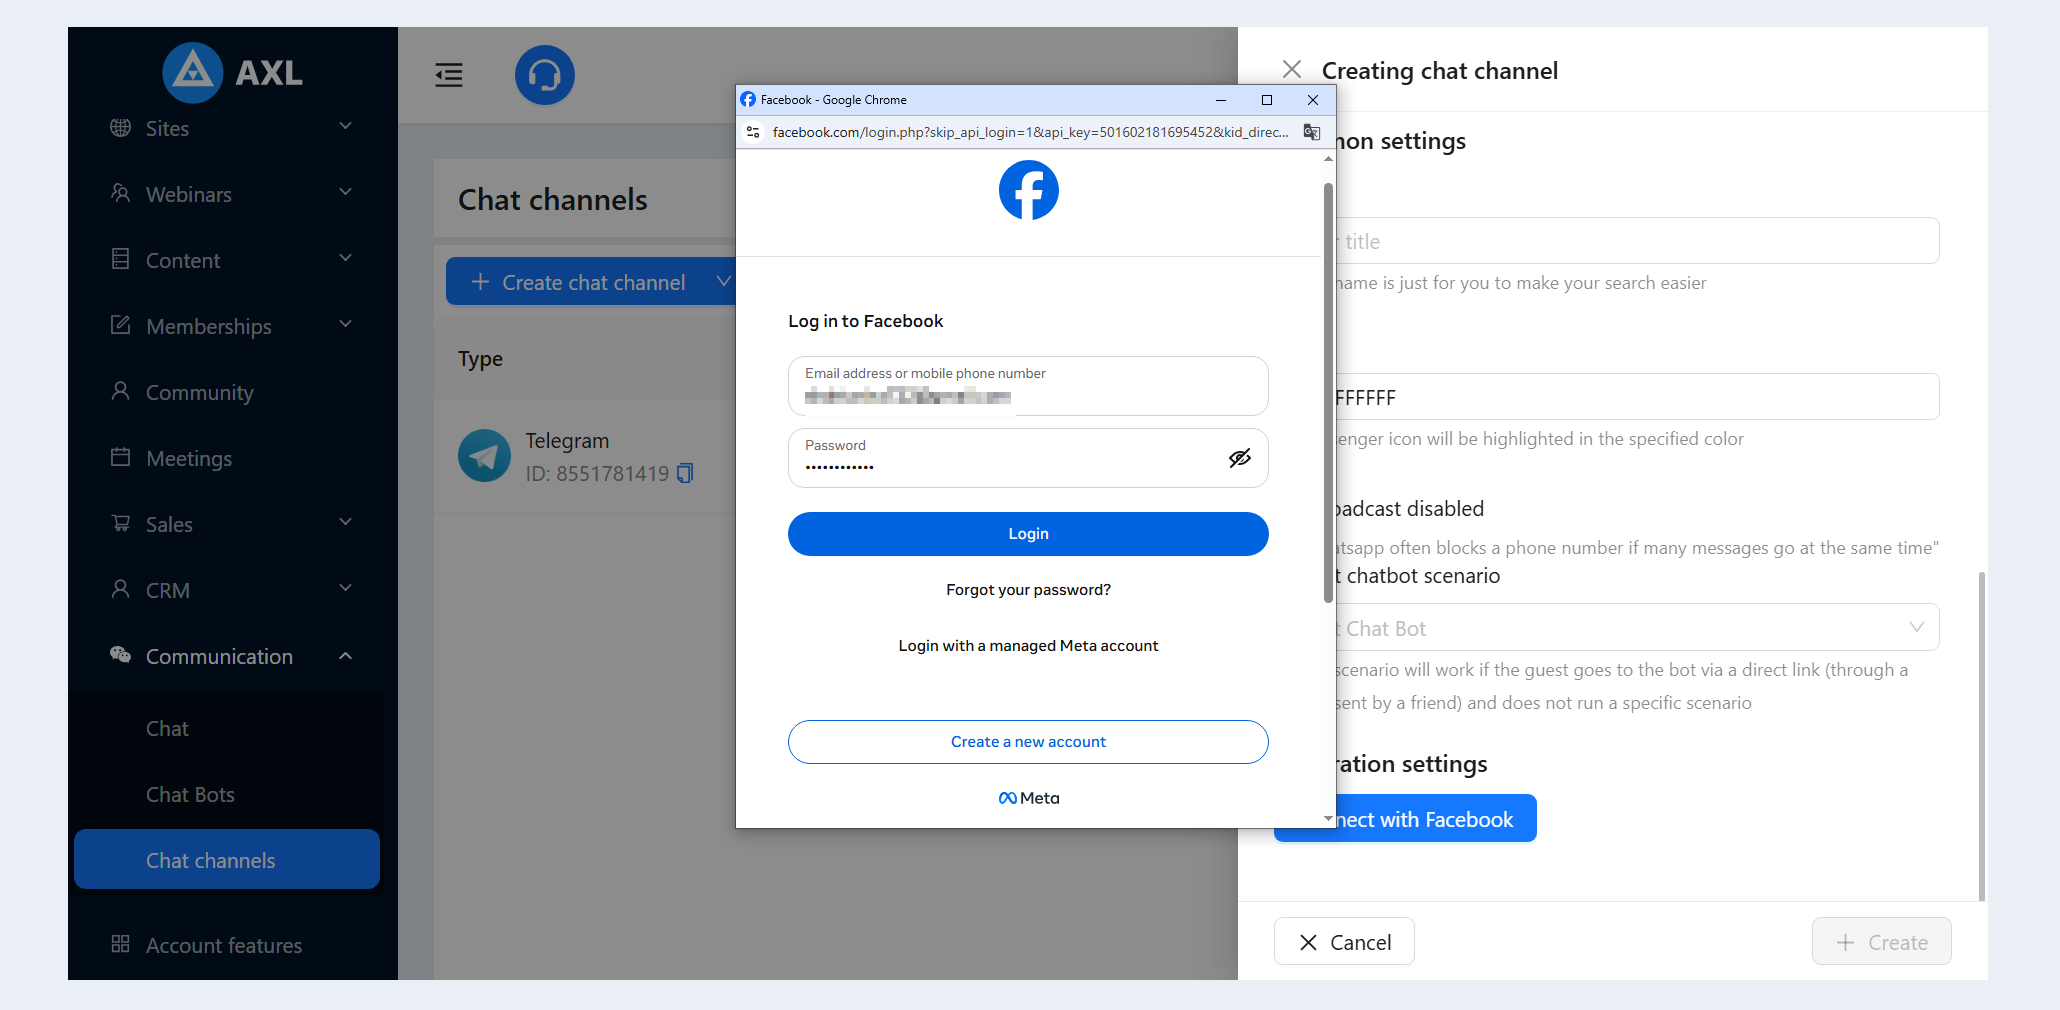
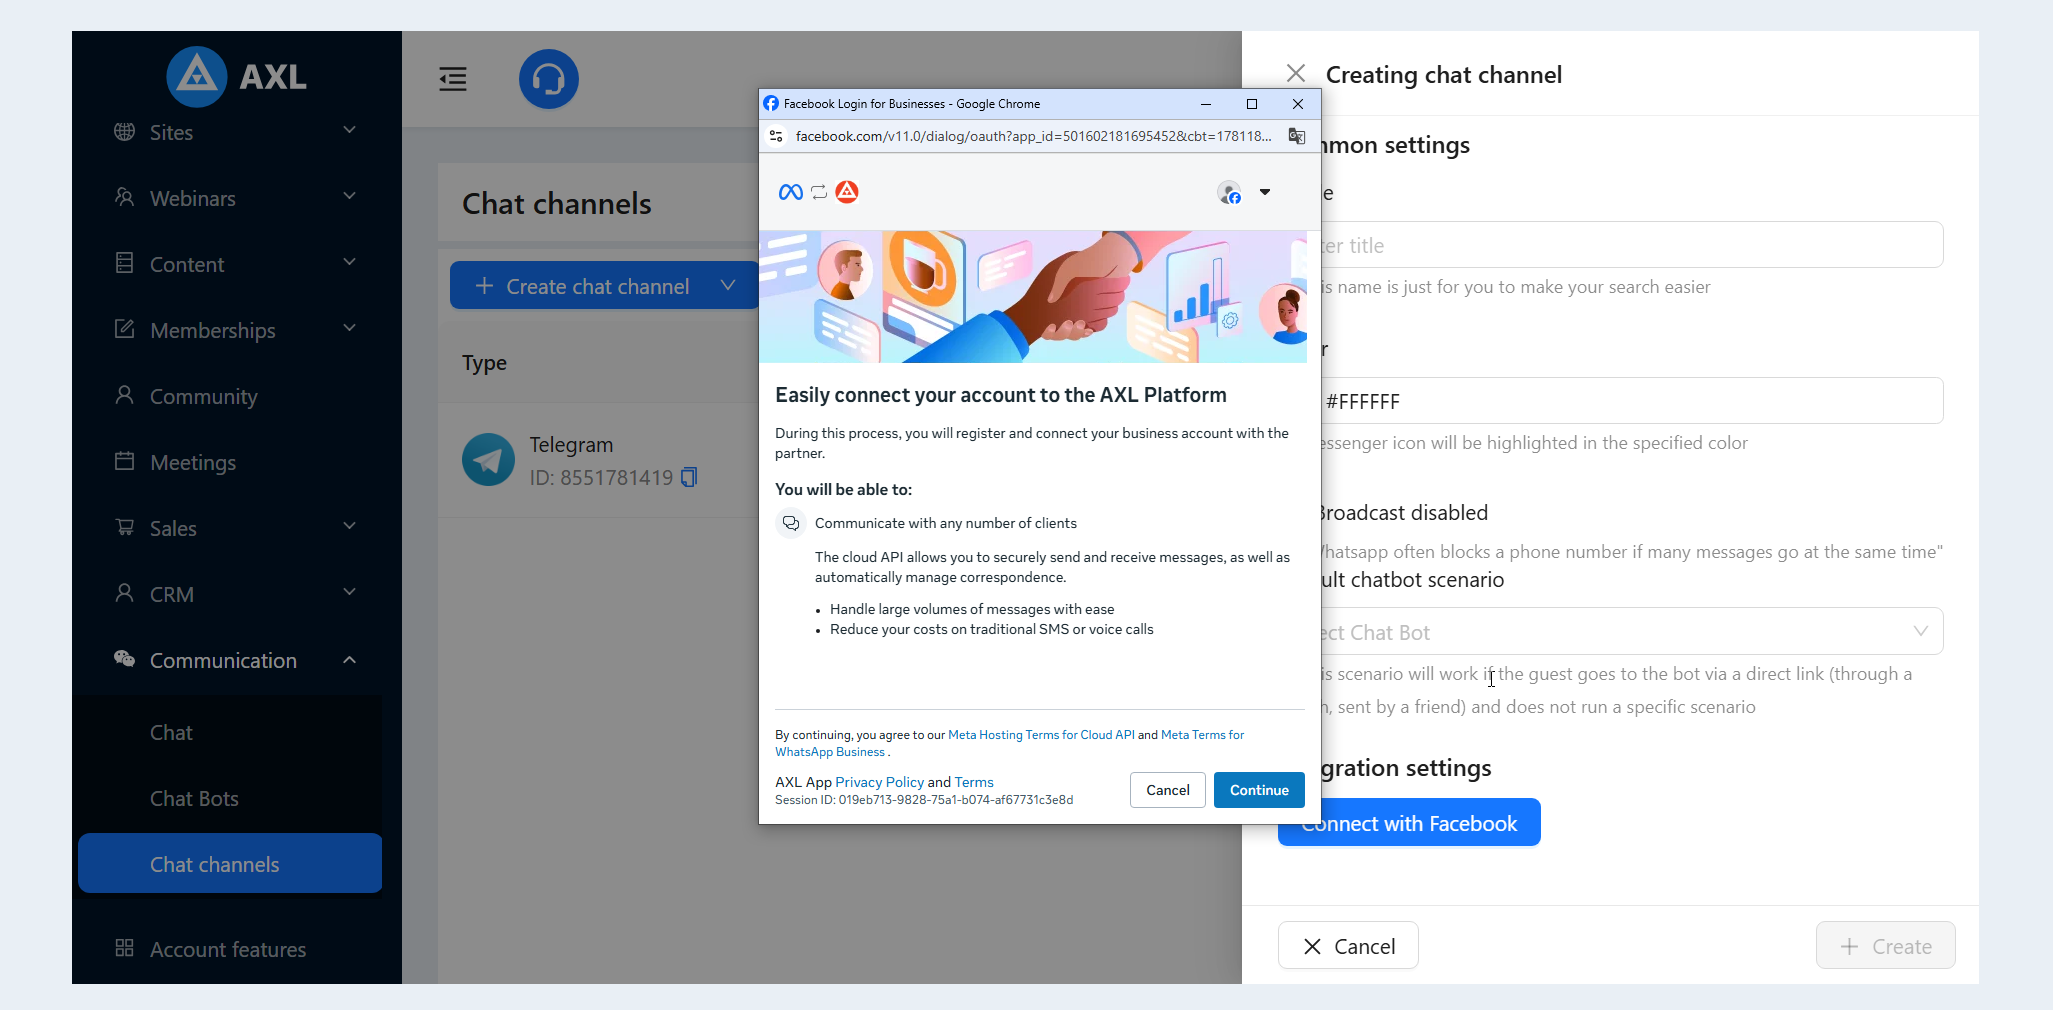
You have opened the window to connect your Facebook account to the AXL platform. Click the “Continue” button.
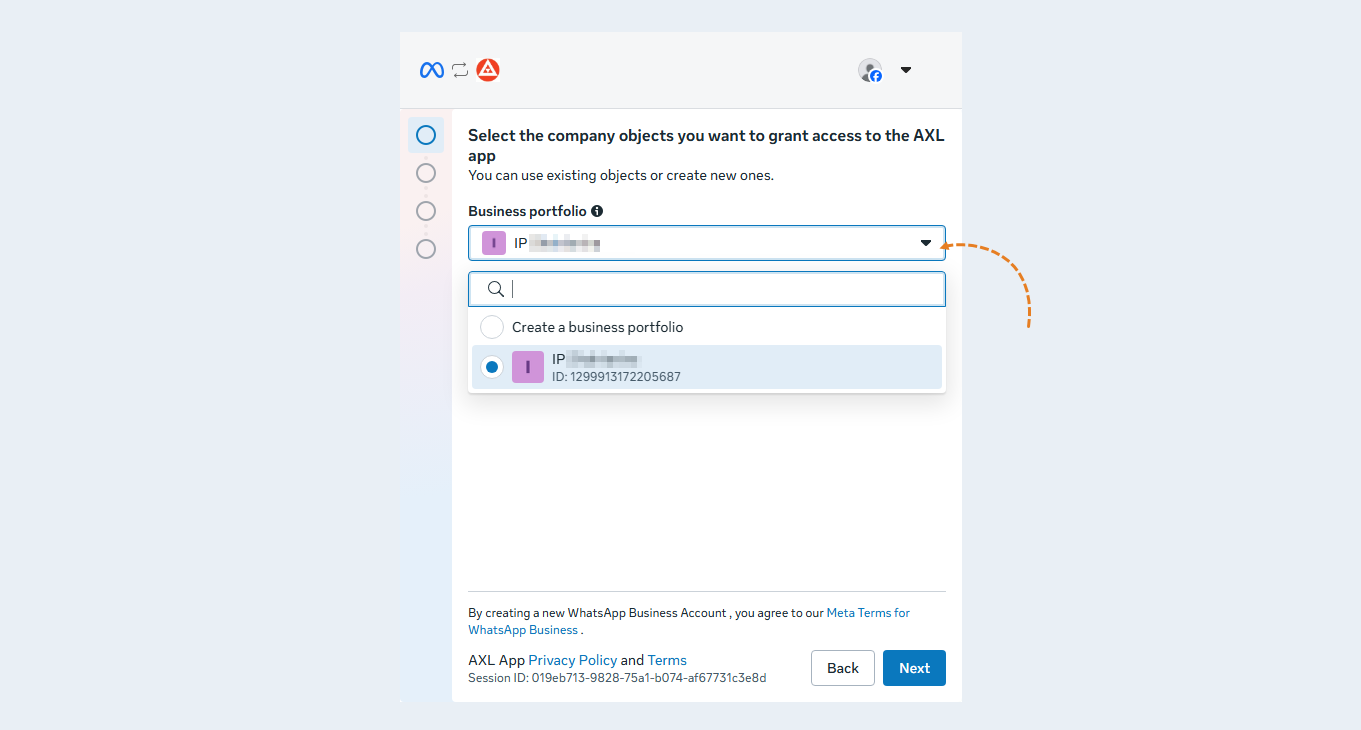
Select the company assets you want to share with AXL: choose the appropriate business portfolio.
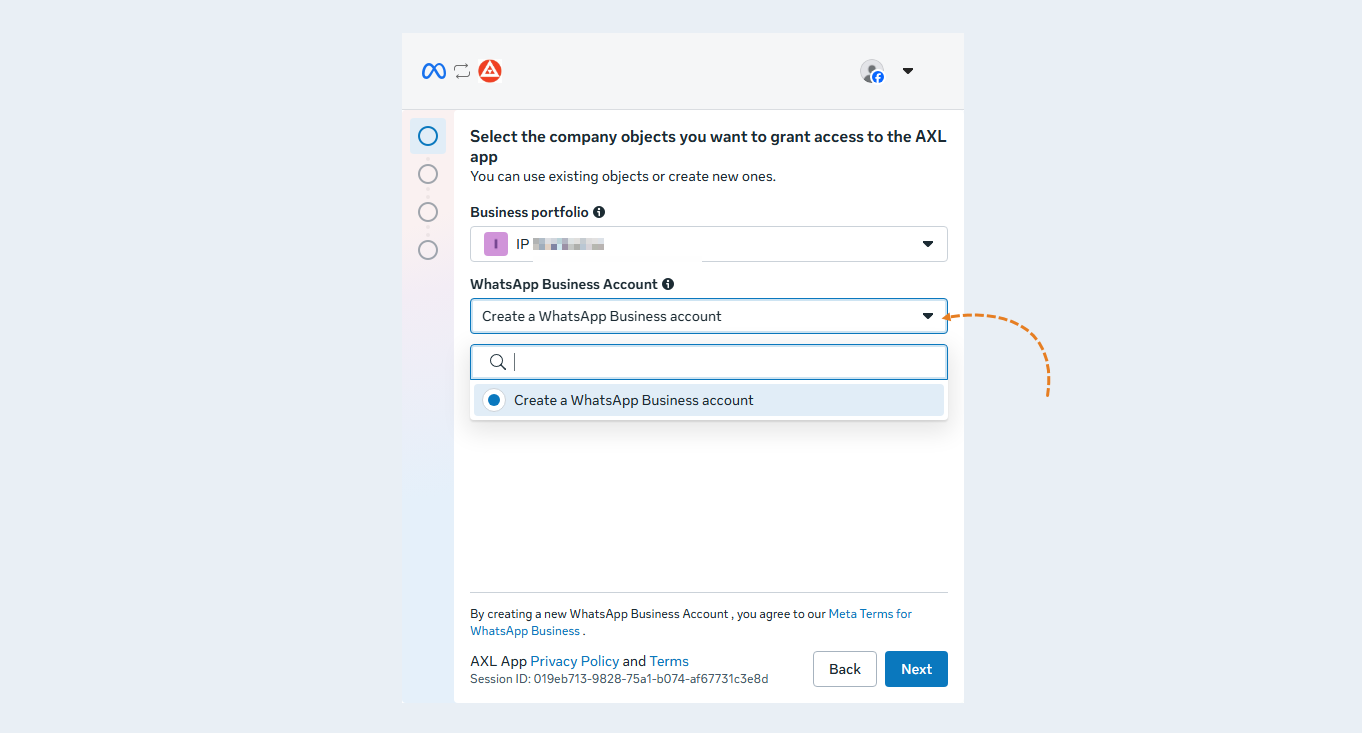
The next step is to choose a WhatsApp Business account.
Select an existing phone number or add a new one.
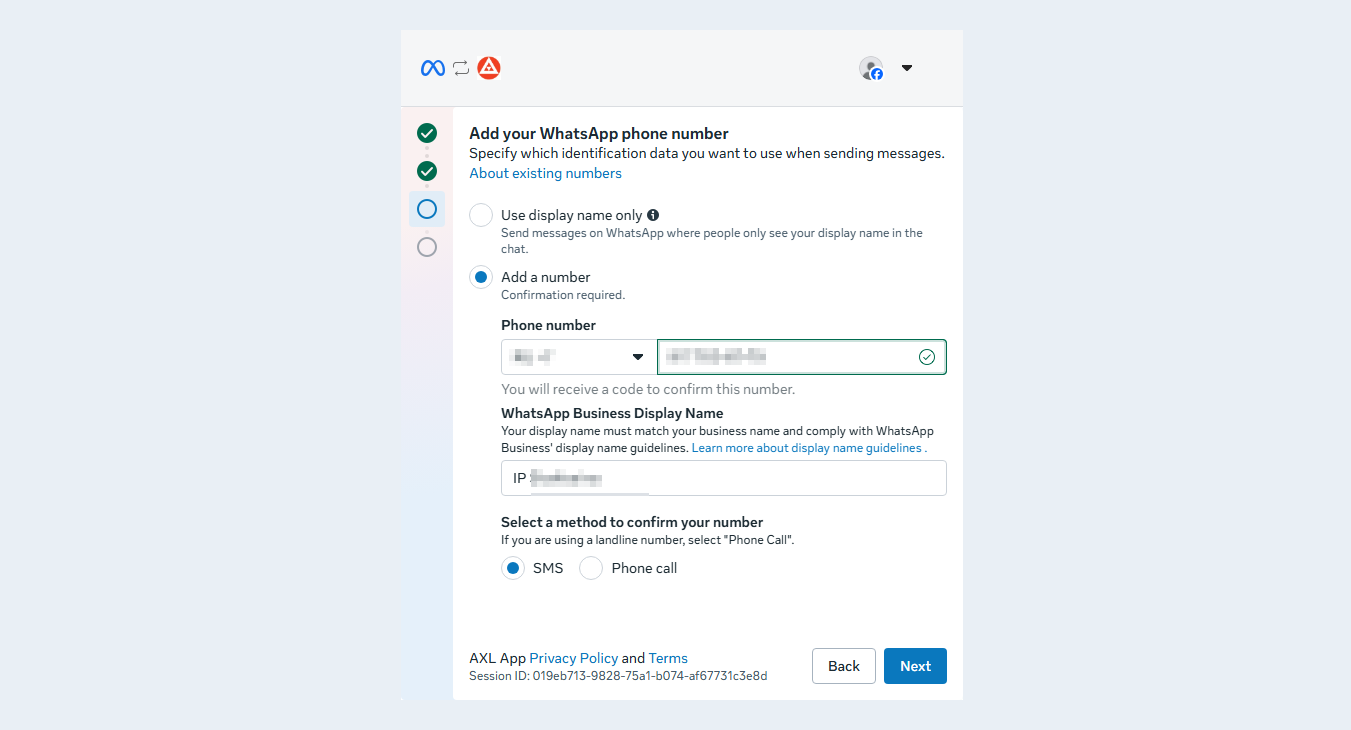
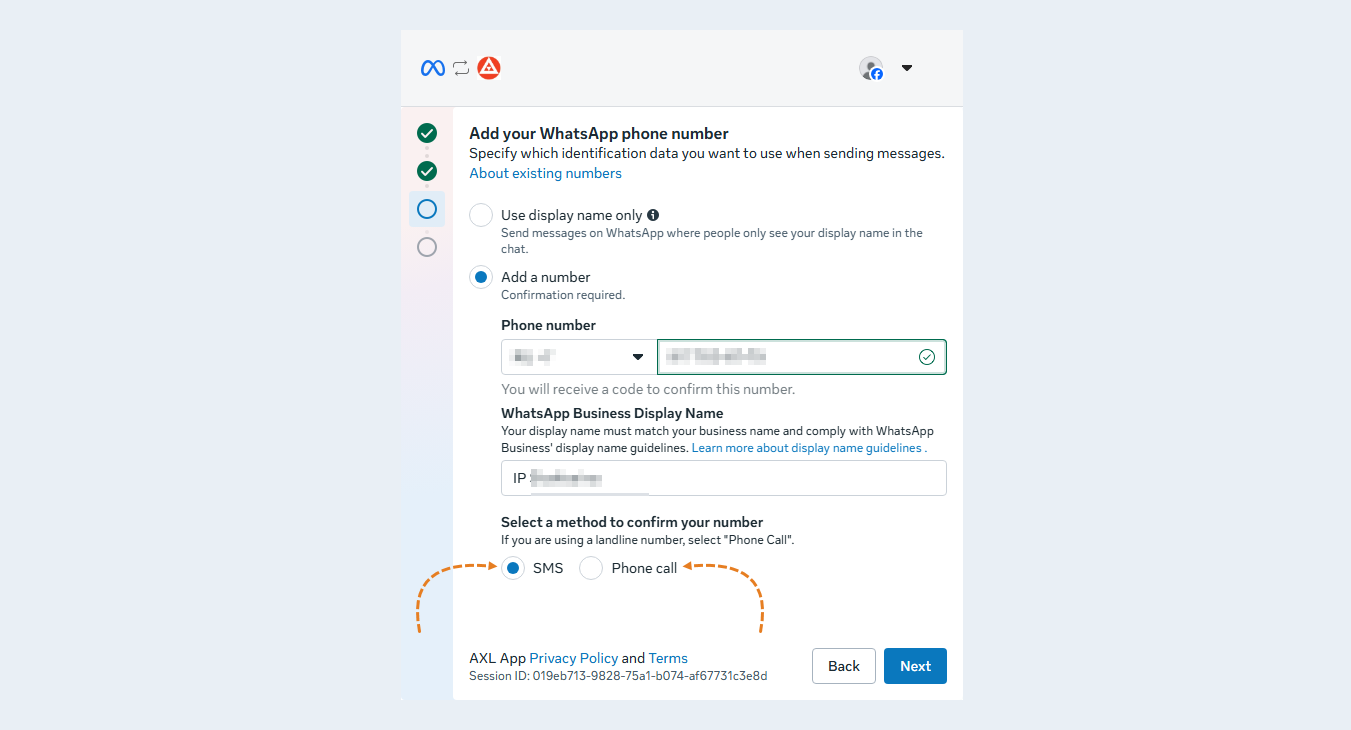
Select a method to verify your phone number: phone call or text message.
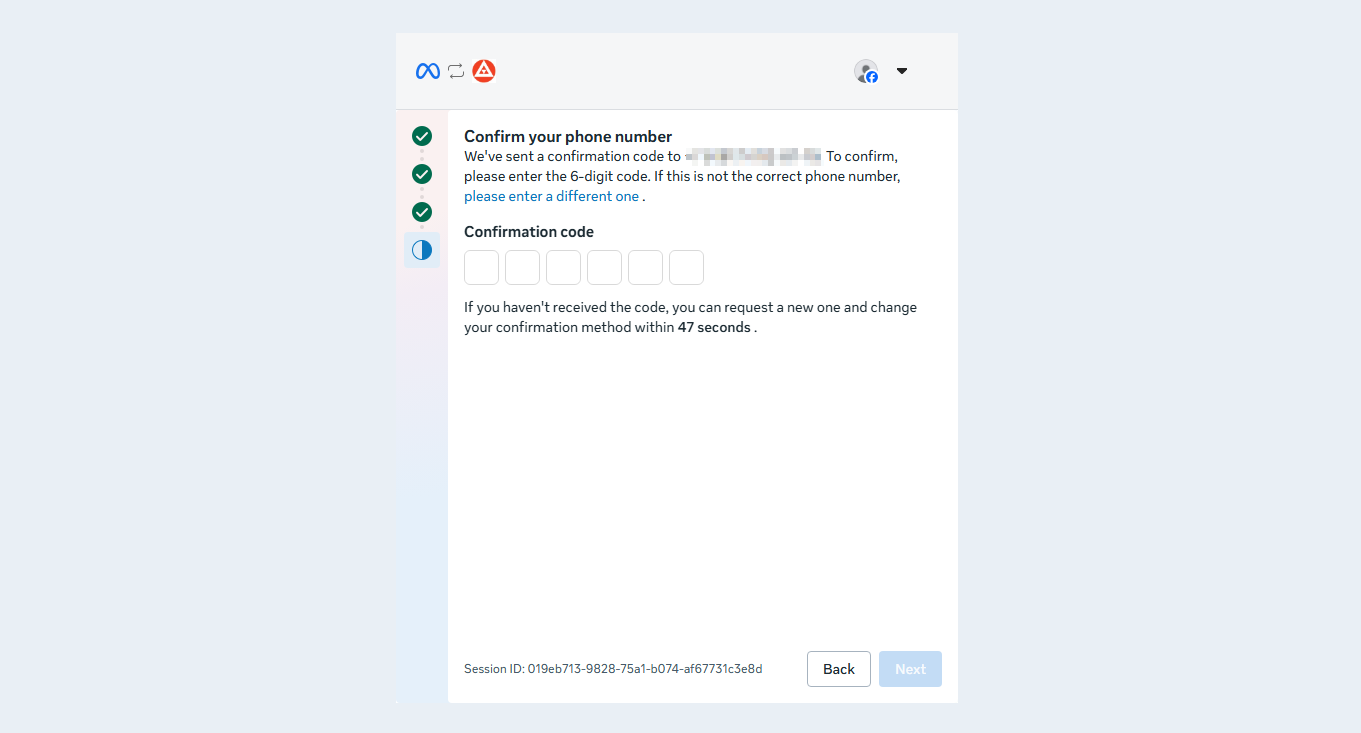
Enter the verification code sent to your phone number.
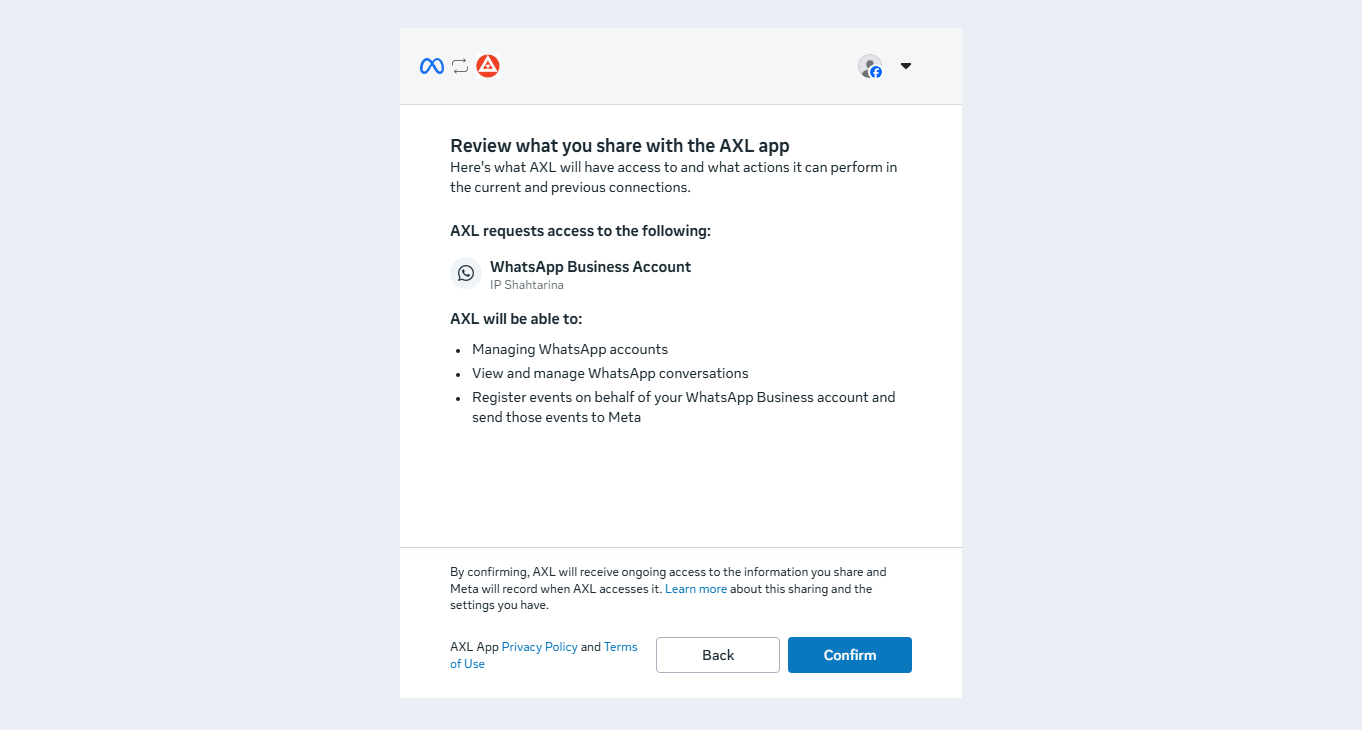
Review what the AXL platform will be able to access, then click “Confirm.”
Your account has been successfully connected to AXL. You will now see a message indicating whether Meta will require additional verification of your account or whether your account has been successfully connected to the platform. Click “Finish.”
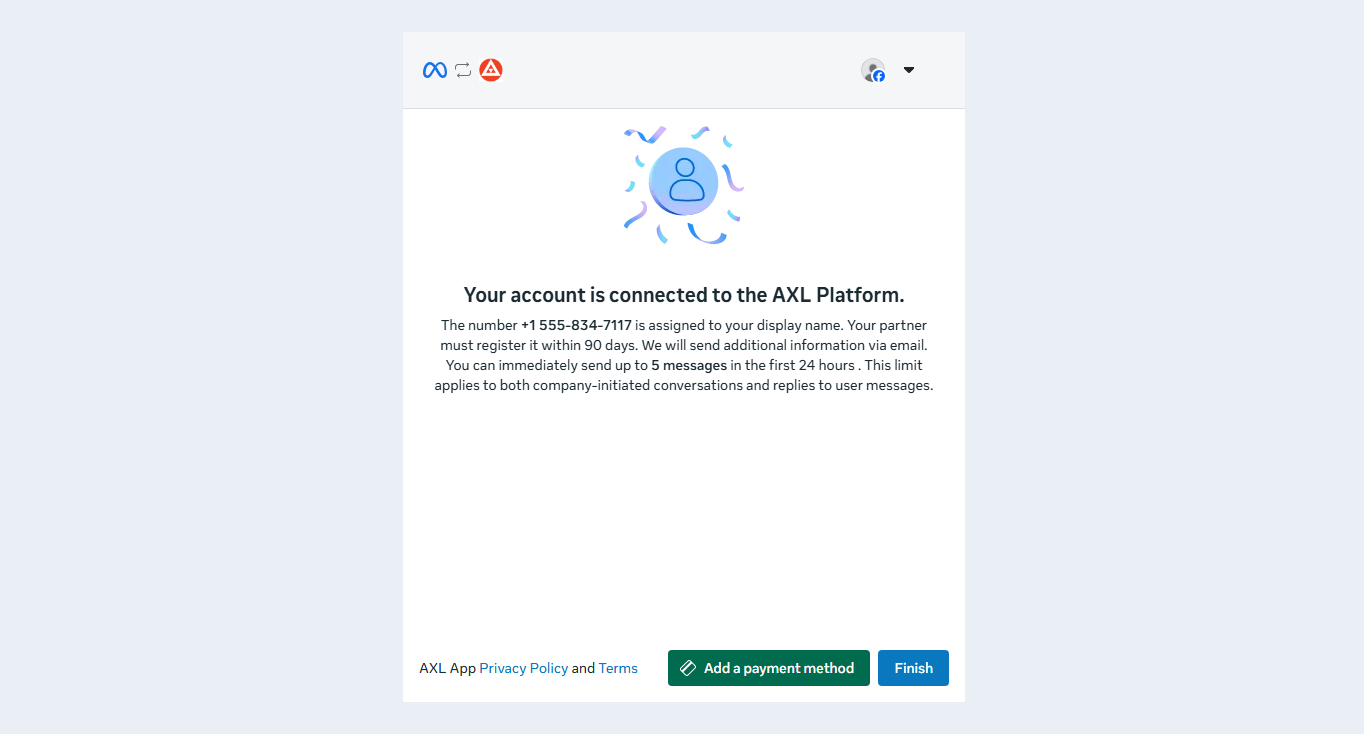
There are now two possible scenarios. The first scenario is that your account has successfully connected to AXL. The second scenario is that Meta needs to review your account within 24 hours of adding the WhatsApp channel to our platform. After that, you’ll need to check your email, and if there are no issues regarding violations of Meta’s policies, you’ll need to re-add the WhatsApp channel to AXL.
3
WhatsApp Channel Settings
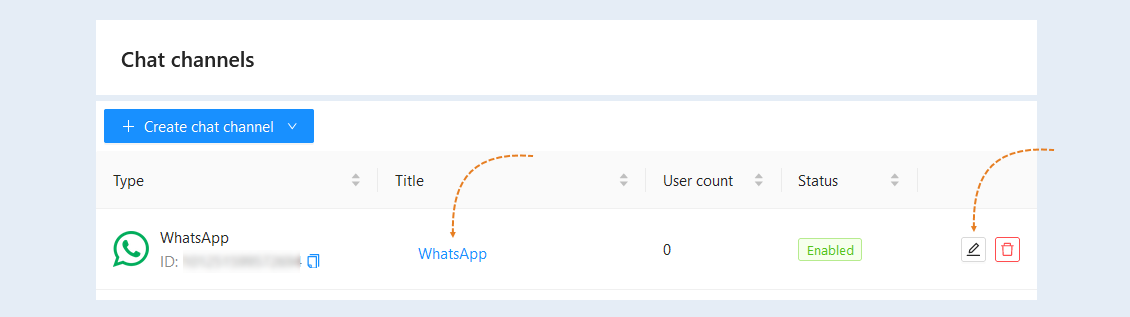
Open the created chat channel by clicking on the channel name or the "Edit" button.
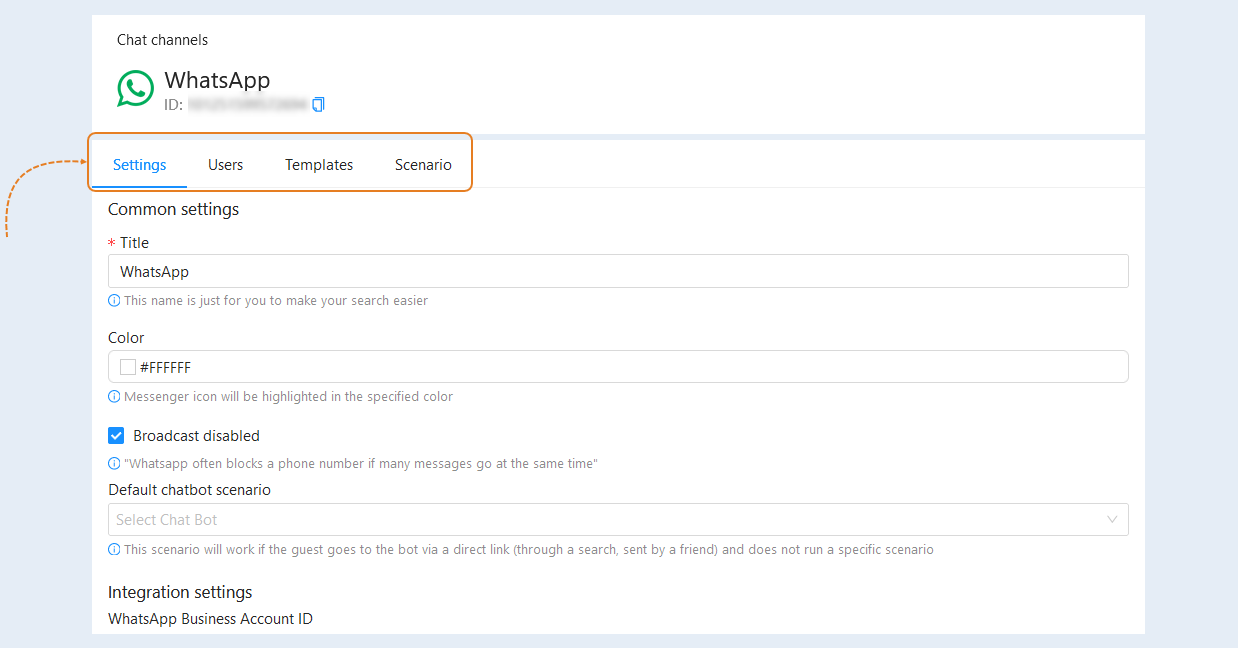
In the window that opens, you can view information about the channel, as well as edit it. For more information about the "Settings", "Users" and "Scenario" tabs, see the article "Chat Channels".
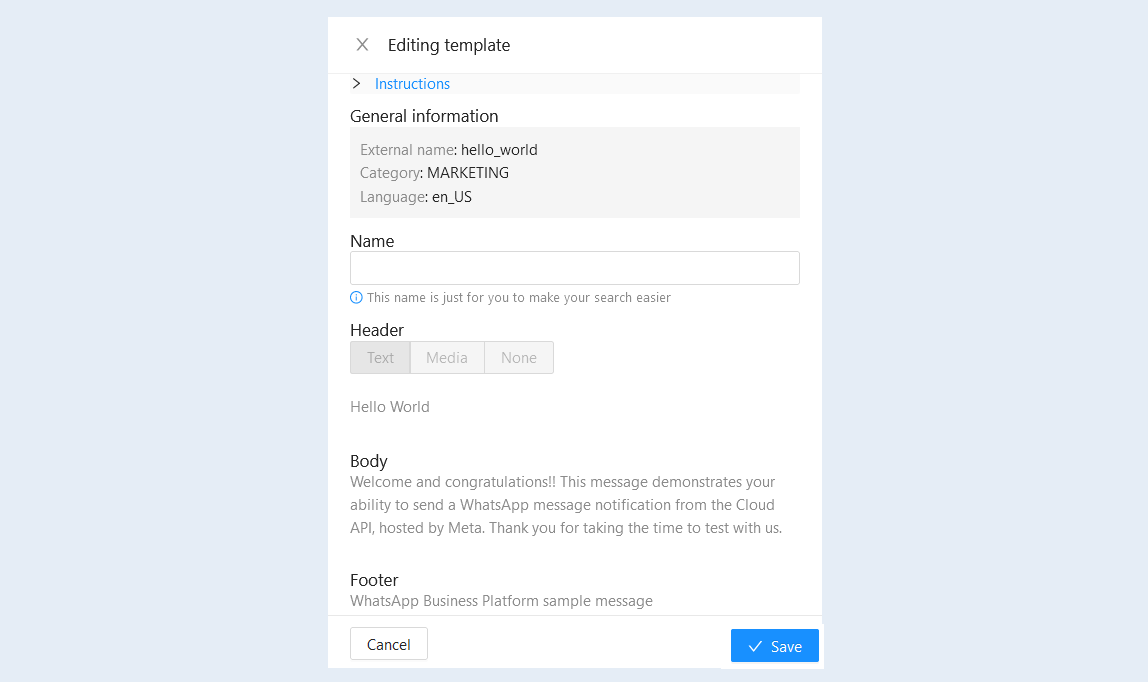
Open the "Templates" tab. The WhatsApp channel supports working with message templates.
You can initiate conversations and send messages using templates. WhatsApp templates are also sent correctly to all channels.
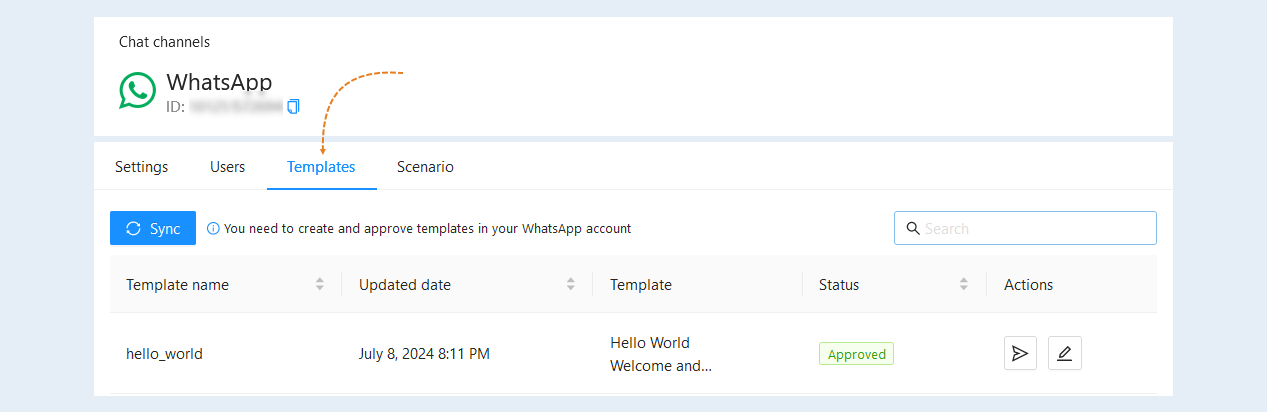
Click "Sync" to upload the templates to the AXL platform. You can create and approve templates in your WhatsApp account.
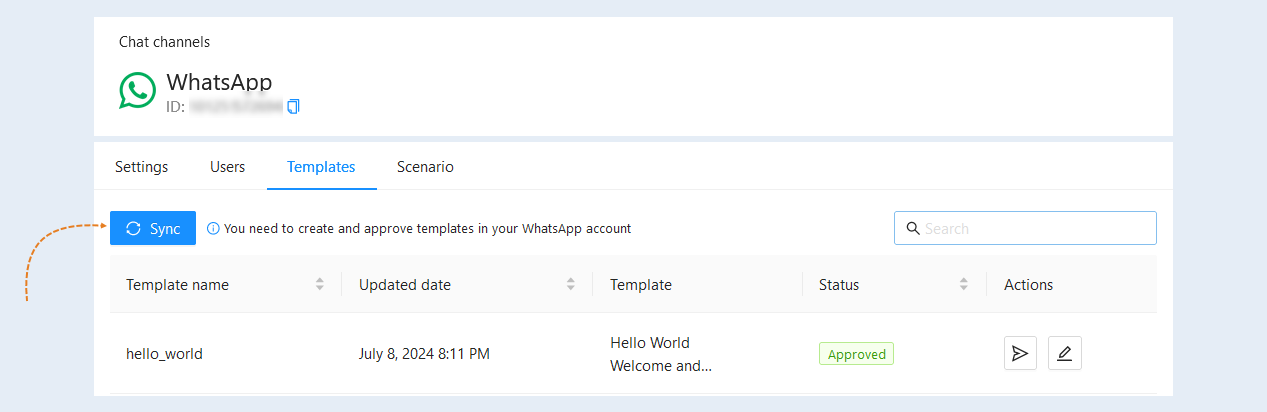
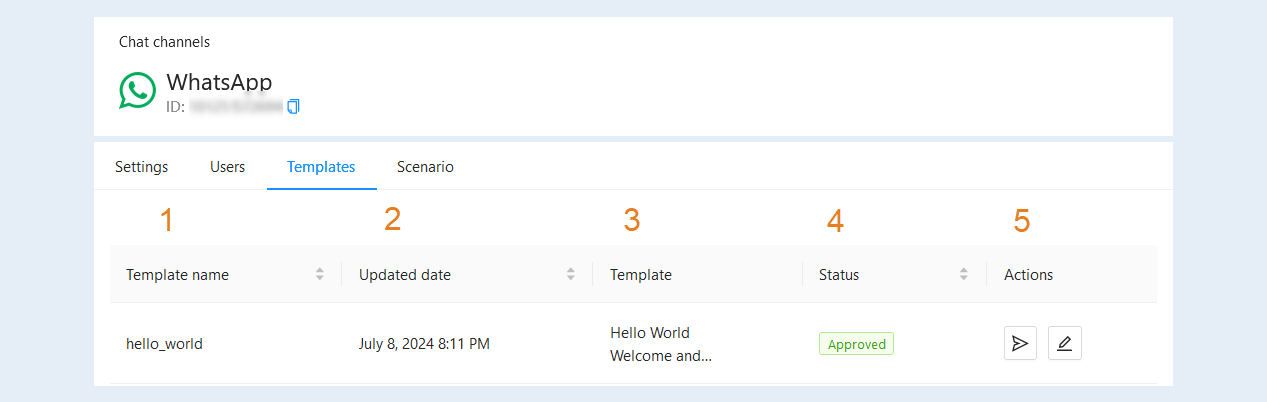
In the "Templates" tab, you can see a list of message templates and information about them:
Template name. The name of the message template is shown.
Updated date. The exact date and time of the last template update.
Template. The text of the message template is shown.
Status. It shows whether the template is approved in the WhatsApp personal account.
Actions. The following buttons are available to you here:
The "Send" button. Click to send a message.
The "Edit" button. Click to make changes to the template.
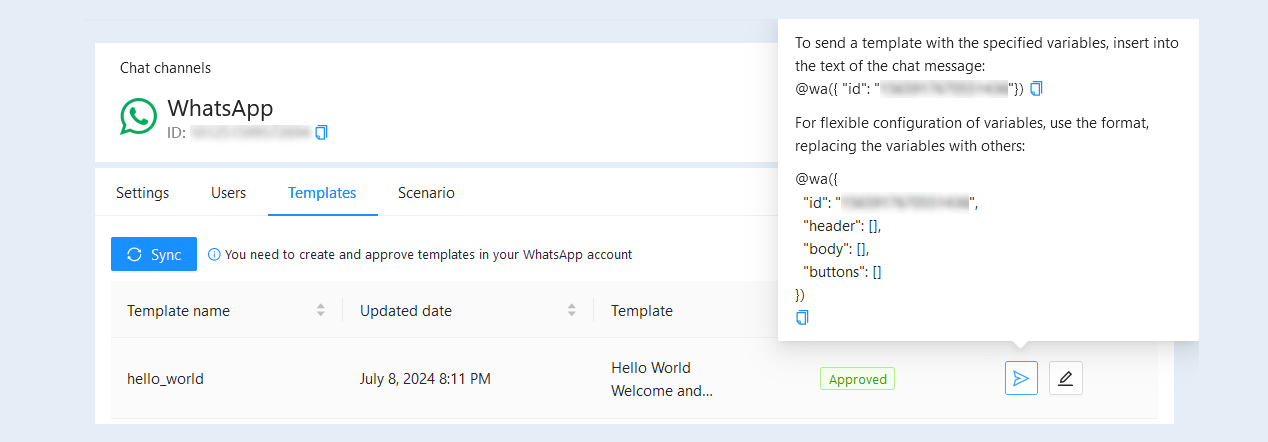
Click the "Send" button to see the instructions for sending.
Click the "Edit" button to edit the template. In the window that opens, you can make changes.