Widgets are embedded elements of a website. An example of a widget can be a registration form. You create a form and use it on various websites or in webinar rooms. A widget is created in the same way as a website page in the page editor and can perform various functions.
Click on the desired section of the article to go to its description:
Creating a widget
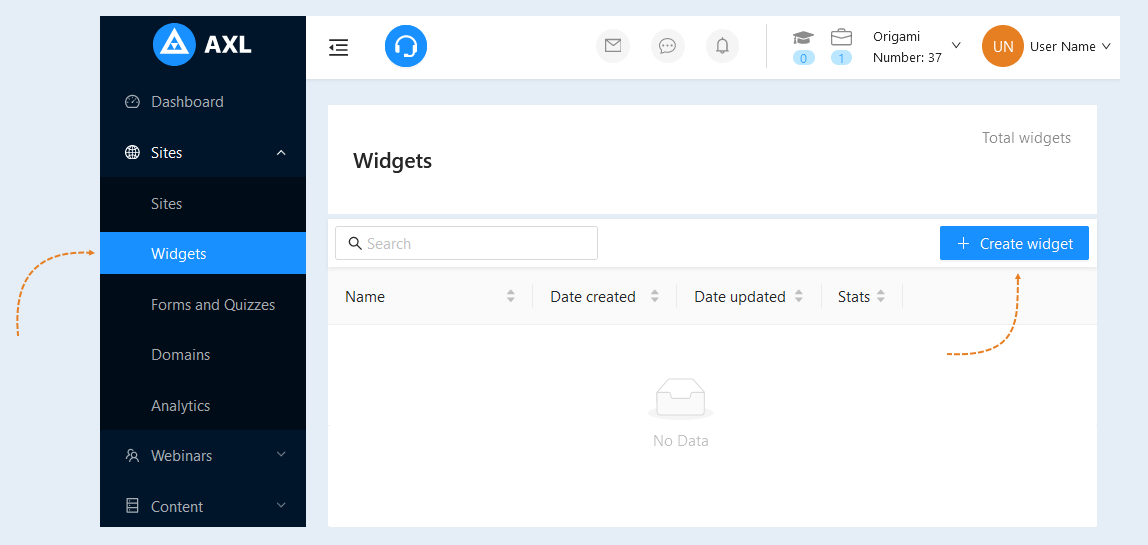
Go to the "Sites" section, tab "Widgets". Click the "Create widget" button.
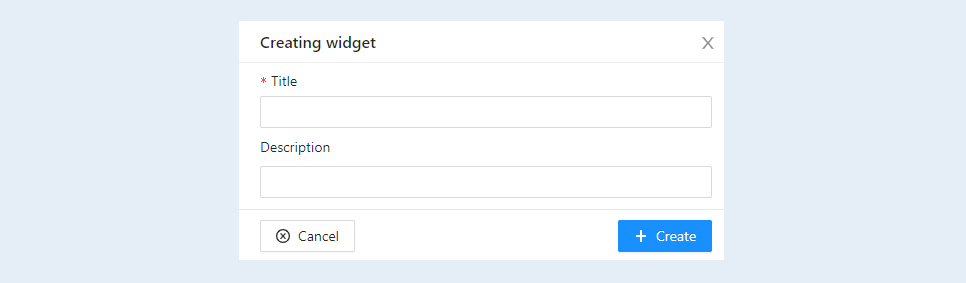
An additional window will open. Fill in the fields: write the widget name and add a description if necessary.
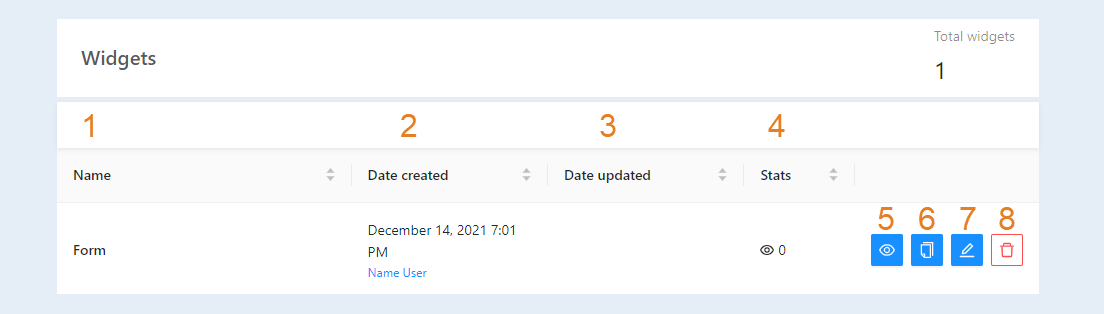
Name. The name of the widget.
- Date of creation. The exact date and time the widget was created.
- Update date. The exact date and time the widget was modified.
- Statistics. The number of widget views.
- Preview button. Click the button to see how your widget will look on the website.
- Copy button. Click to copy this widget.
- Edit button. Click to edit the widget, customize its appearance, and create a script for this widget.
- Delete button. Click to delete the widget.
Widget design
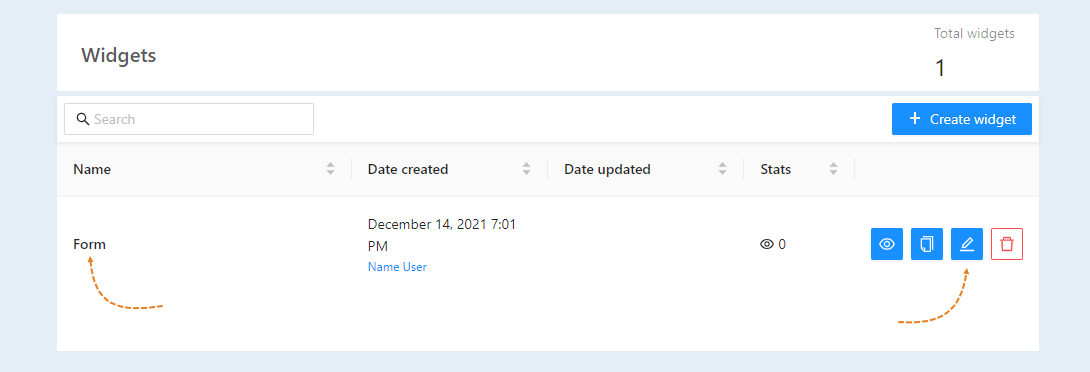
After you have created a new widget, you need to design its appearance. Click on the widget name or the "Edit" button.
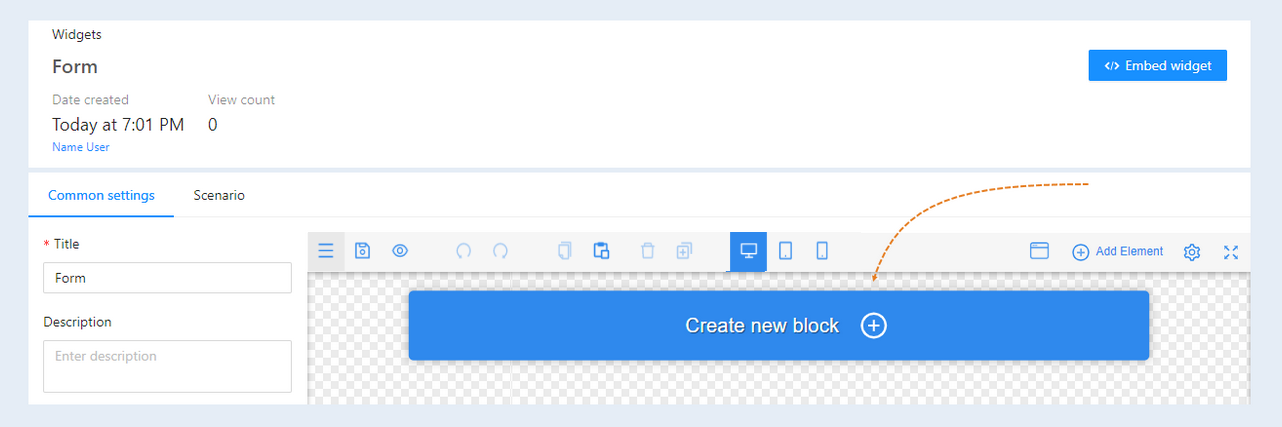
The page editor will open. In this editor, we create a widget - a form. A form is the most common element for widgets. For more information on how to work in the page editor, read the articles: "Page editor overview", "Elements", "Element Form".
Click "Create New Block".
Click the "Add element" button and select the "Form" element.
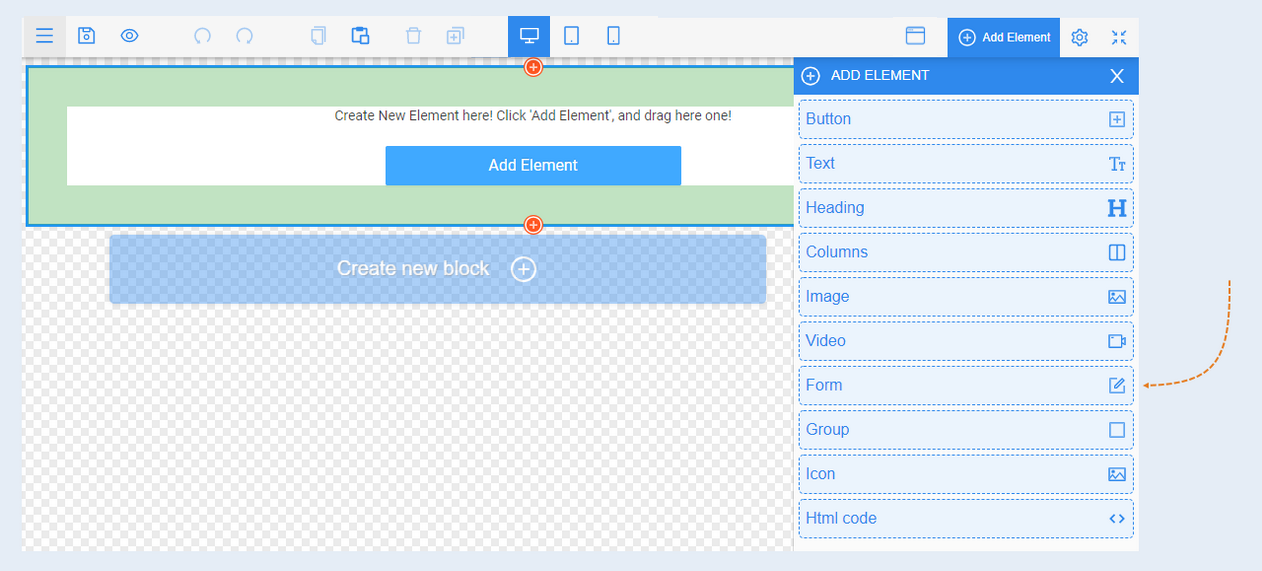
Choose a form template from the templates and drag the element into the page field.
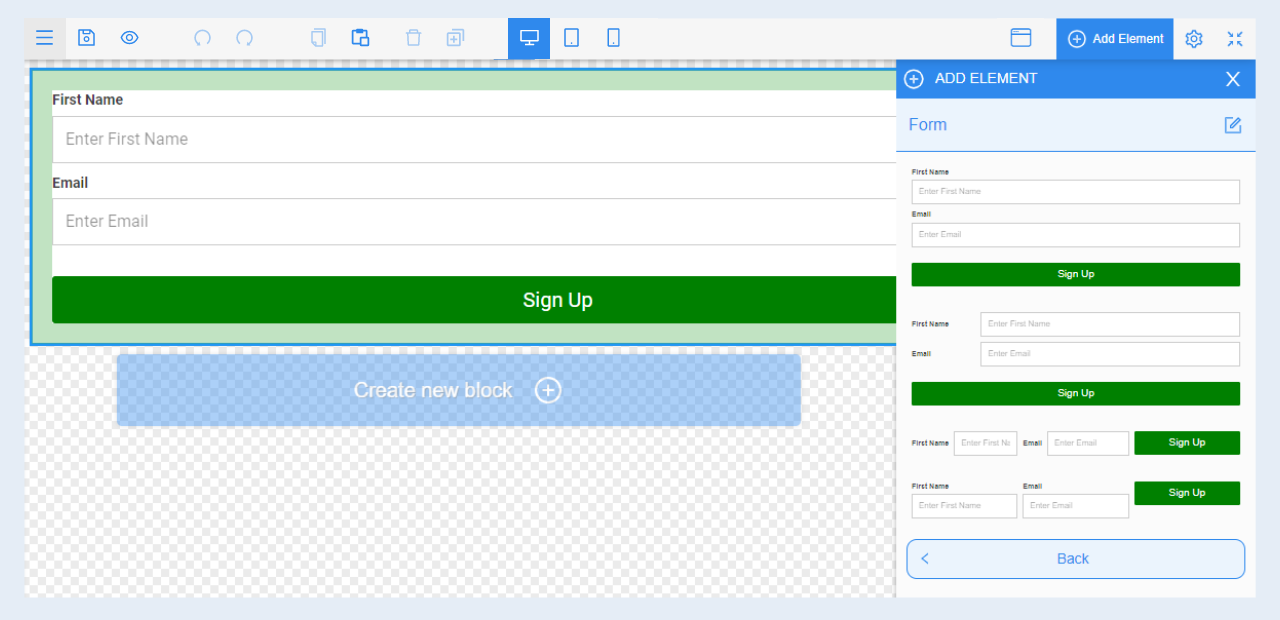
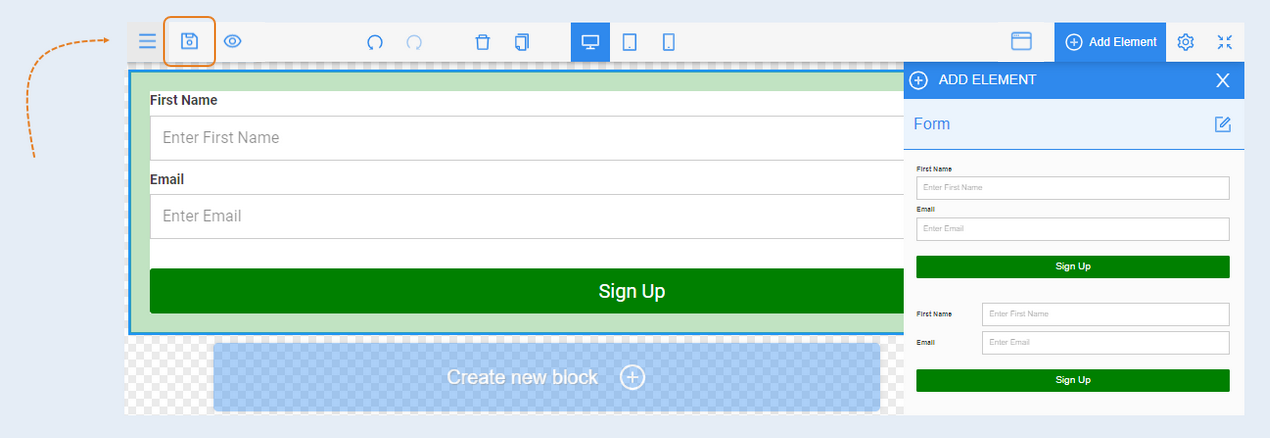
Proceed to editing the form. Select the entire form element. On the right, the "Element settings" panel will open. Edit the form as desired. For more information on form settings, read the article "Form Element". After the form is created and configured, click the "Save" button.
Widget Scenario
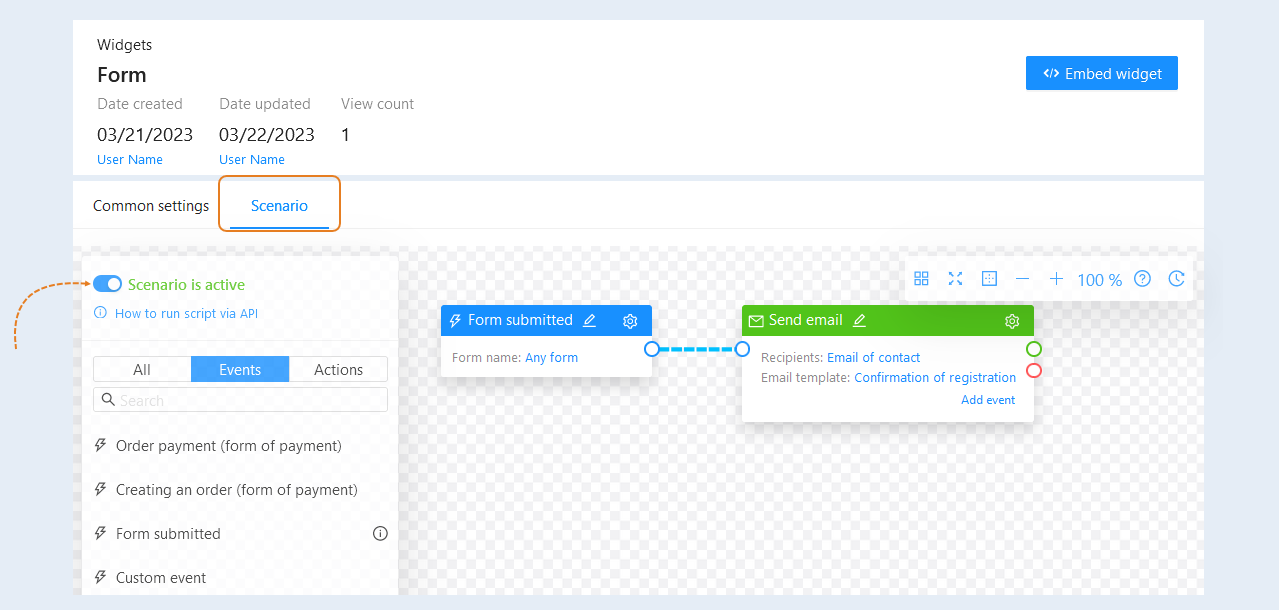
Now you need to create a Scenario for this widget. Open the Scenario tab, add an event and an action, and connect them together. For more information about the settings of the widget Scenario, read the article "Site Scenario".
After completing the script settings, move the "Scenario is active" slider to the active position.
How to embed a widget on an external website
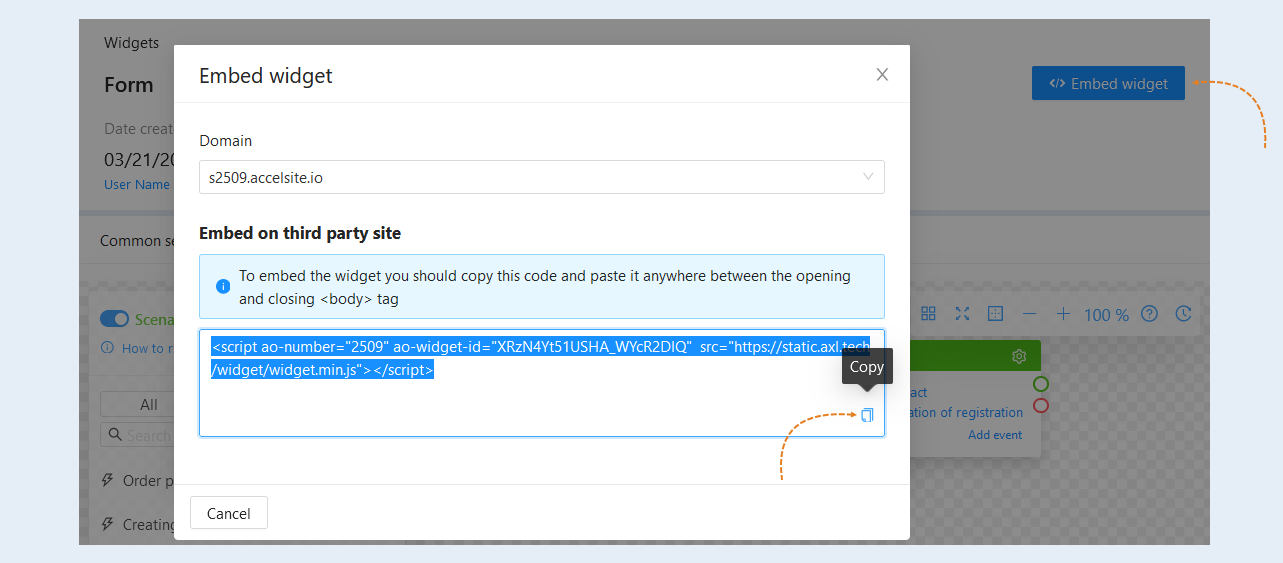
To embed a widget on an external website, you need to copy the widget code and paste it anywhere between the opening and closing <body> tags.
Click the "Embed widget" button in the top right corner of the page. In the opened window, copy the widget code by clicking the "Copy" button.
Let's consider how to embed a widget on an external website using the Tilda website builder as an example.
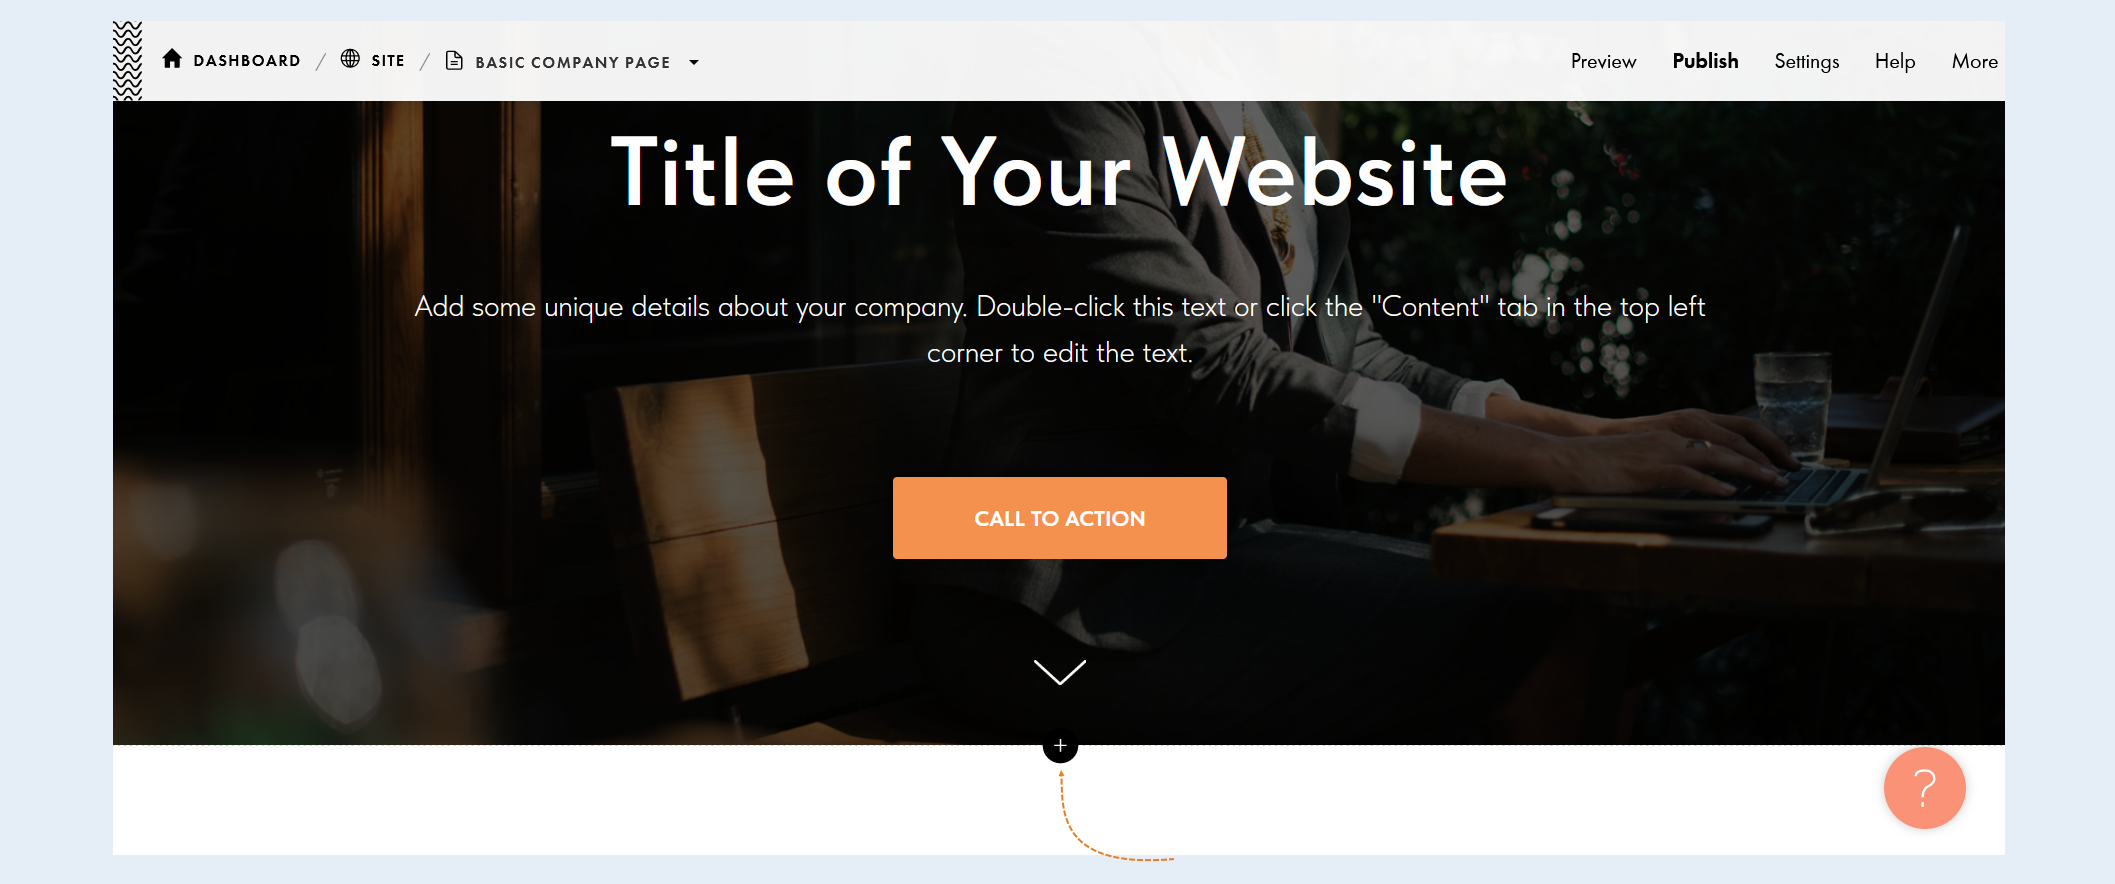
Open the page of the website in the Tilda builder. Select the place on the page where you want to place the widget. Click "+".
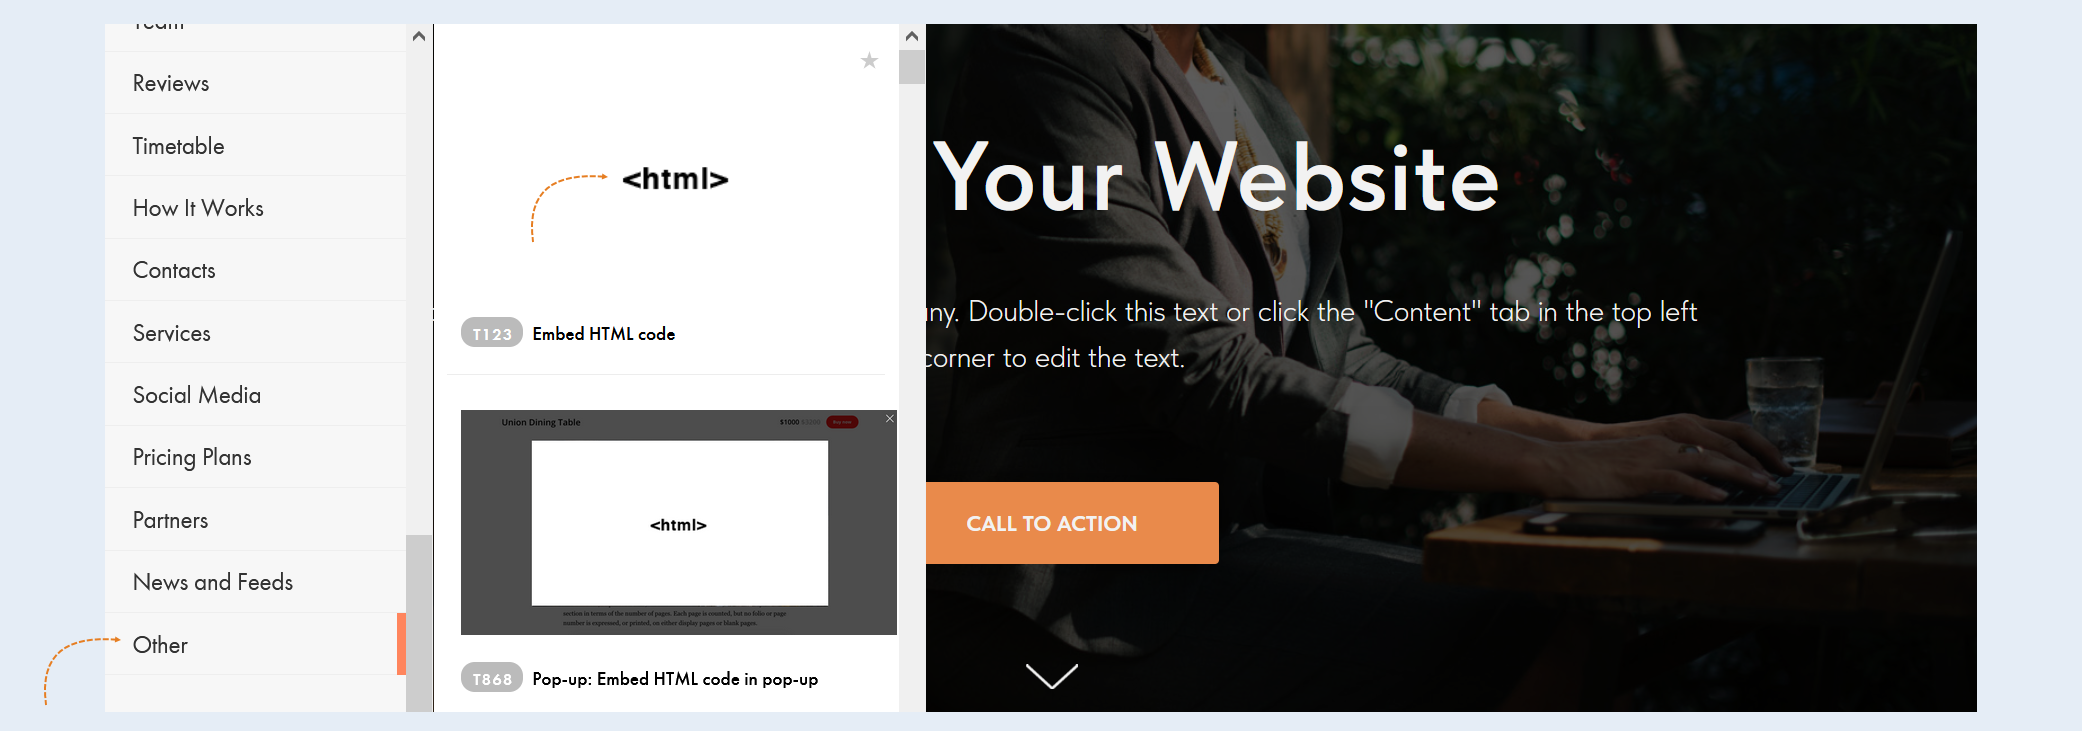
From the block library list, select the "Other" section, and then "HTML code".
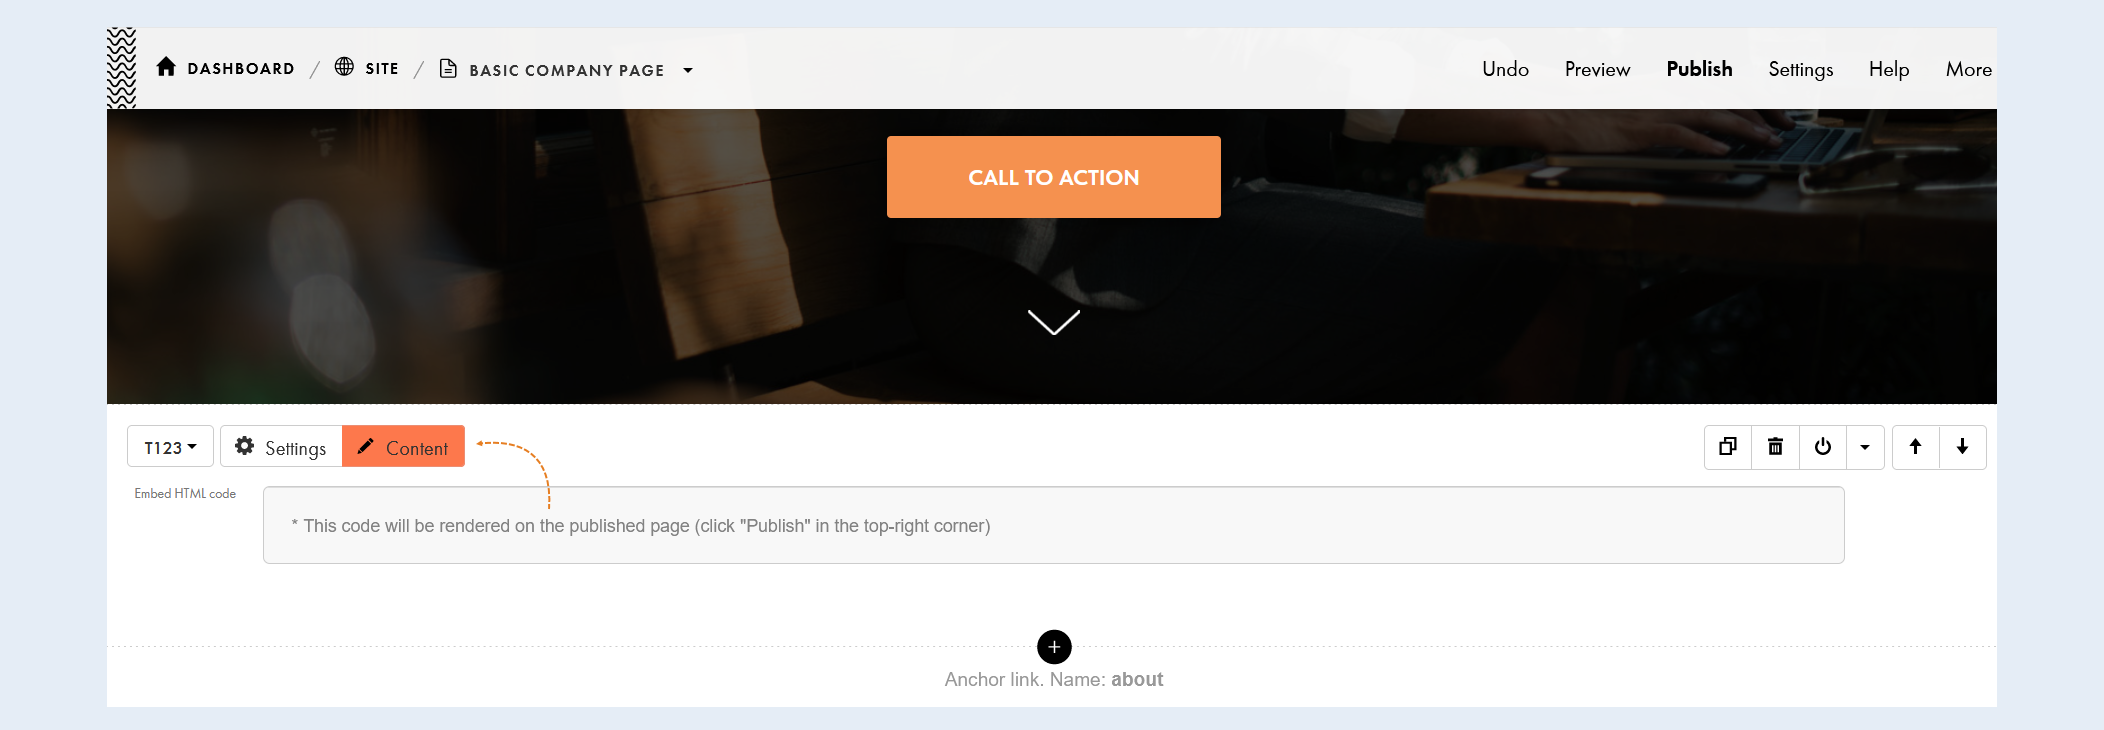
Click the "Content" button.
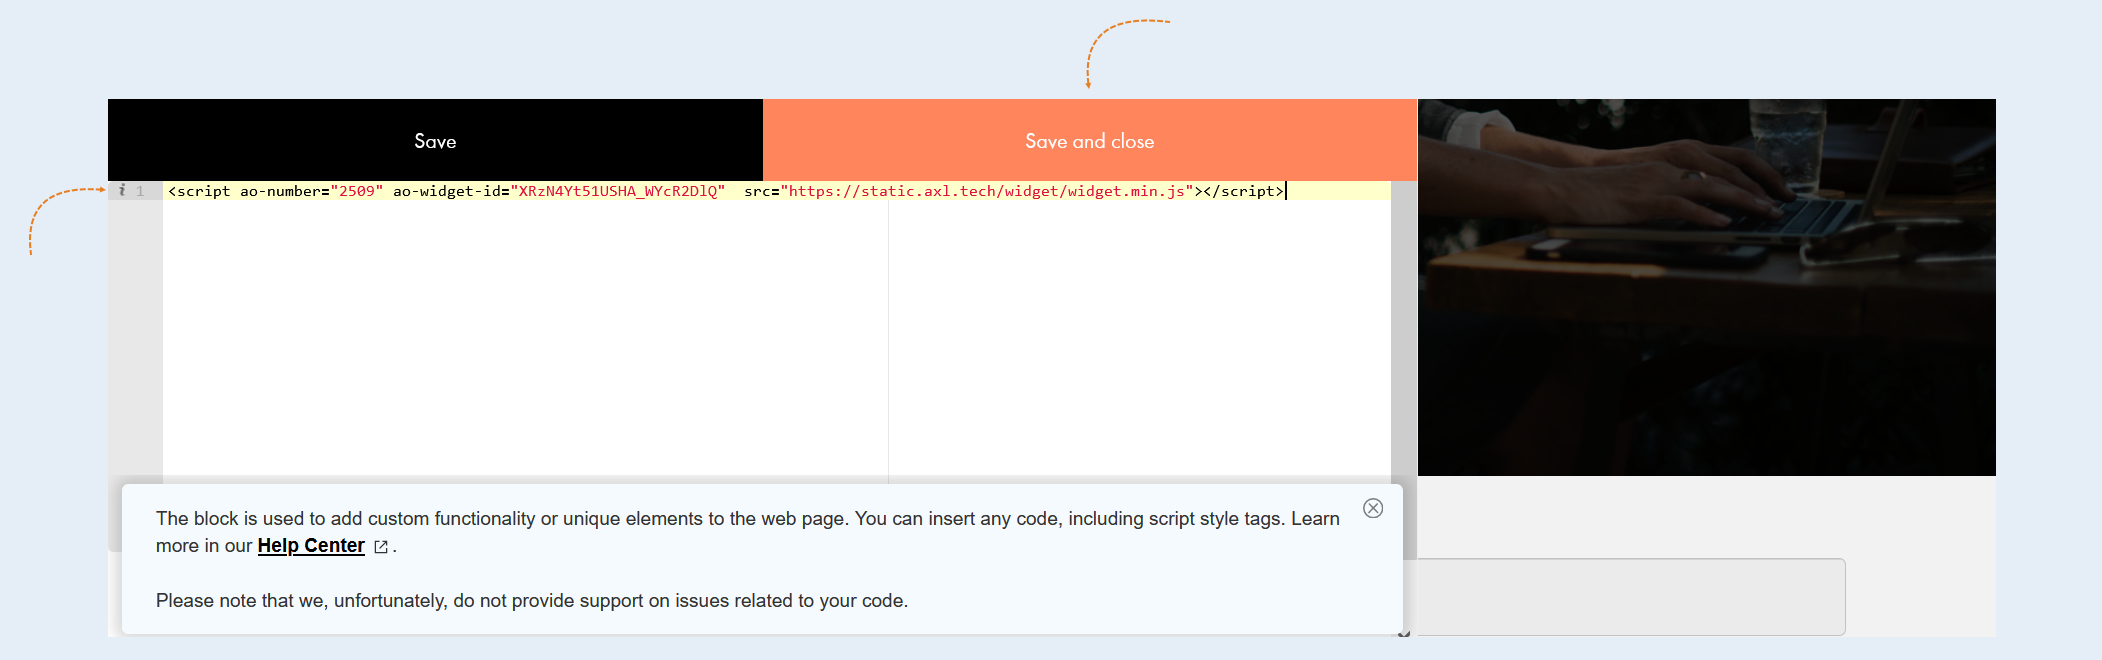
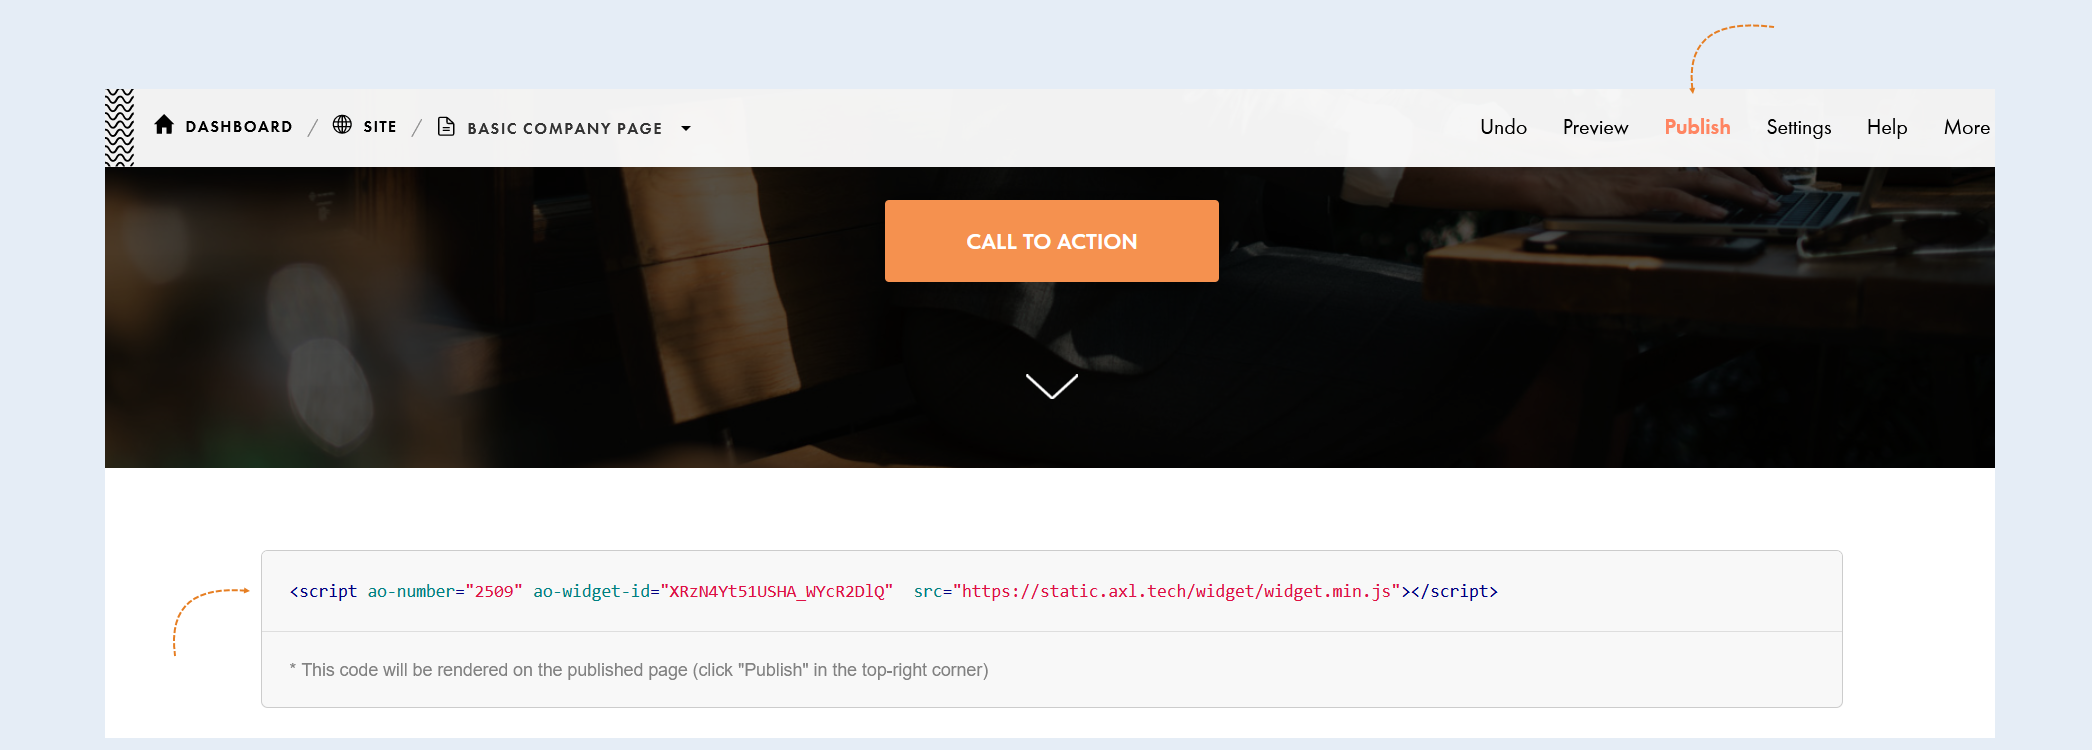
An additional window will open. Paste the copied widget code into the field and click "Save and close".
The widget will be displayed on the website page. The widget code will be executed on the published page. Click "Publish" in the top right corner.
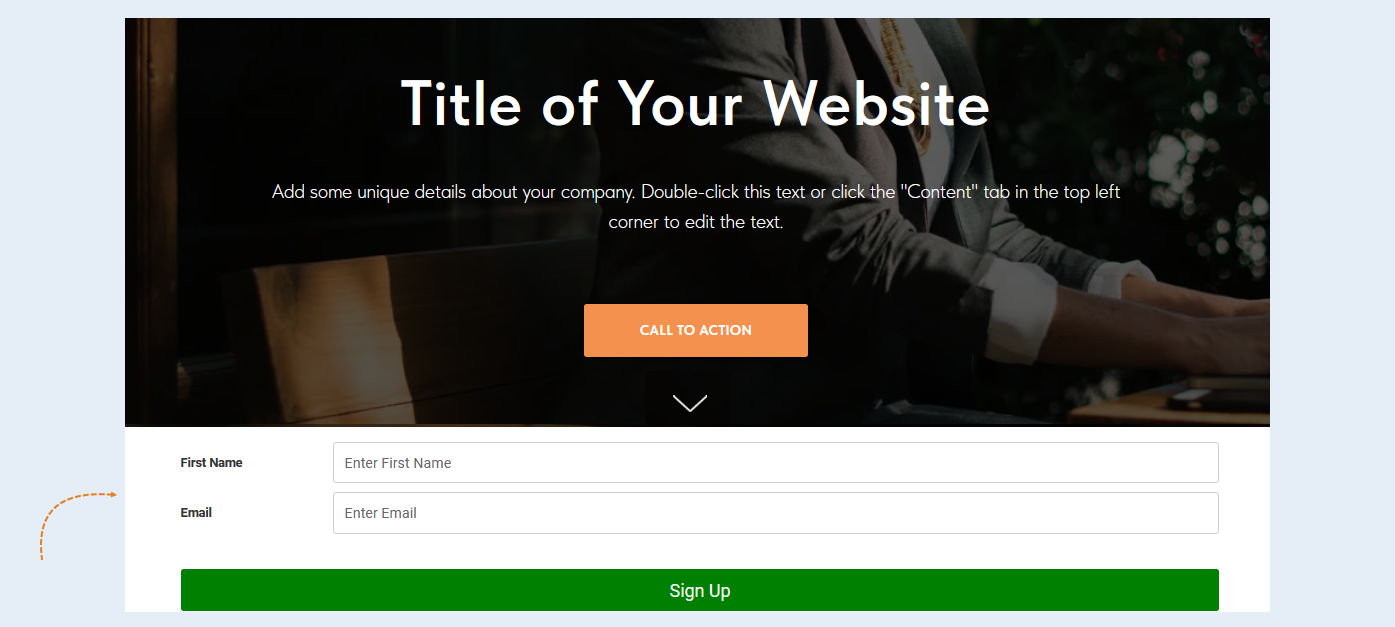
After publication, open the page. The form will appear on the website page.
You can edit the widget on the AXL platform. The changes made will be immediately updated on the pages of external websites. It is important to note that the size of the HTML element where the code is inserted on Tilda will limit the size of the widget, so it is better to set automatic width in the widget settings on the AXL platform.
Also, please note that the widget automatically adjusts its size when its content changes.
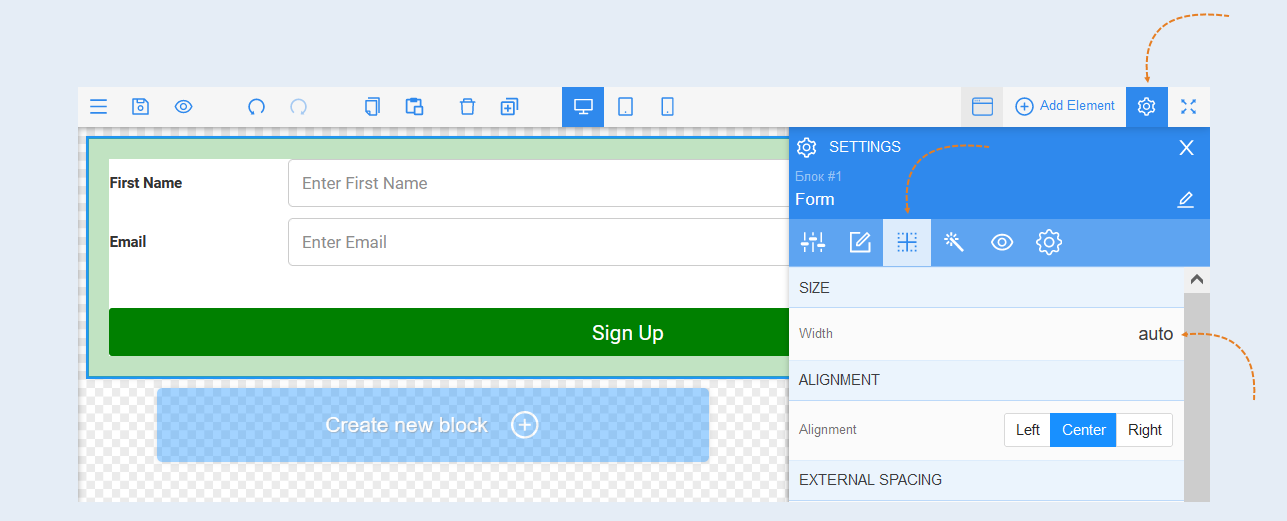
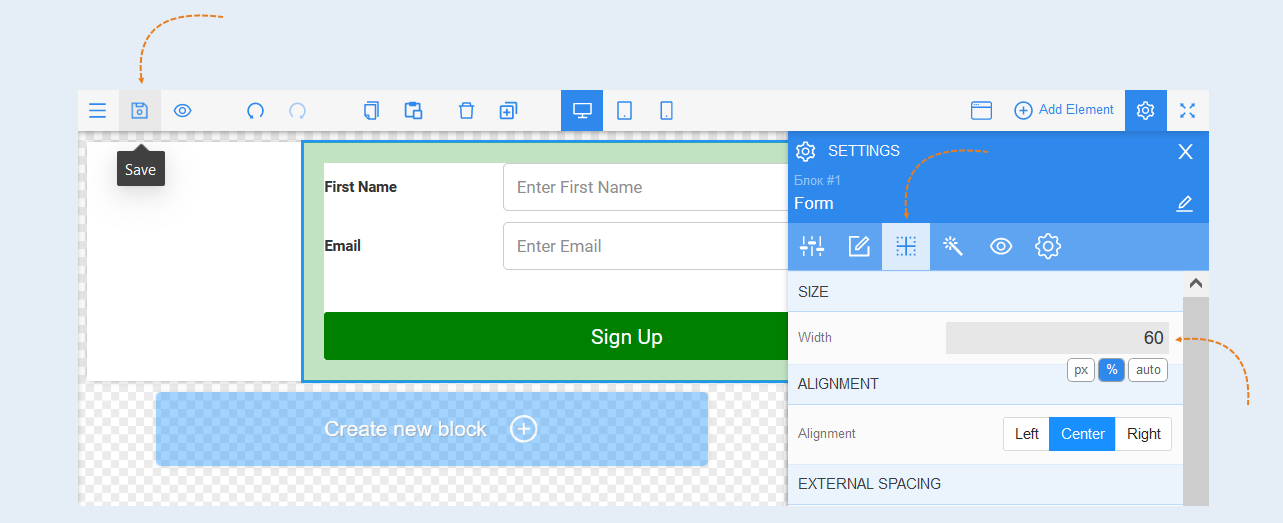
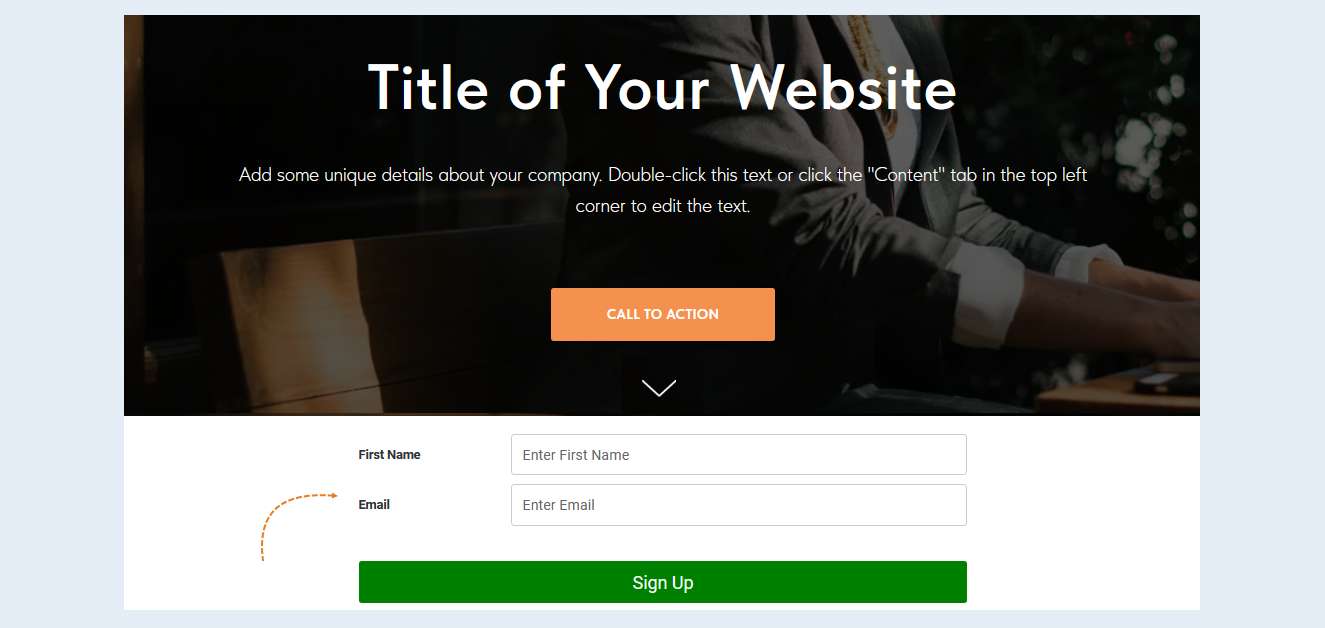
For example, if you set the widget size to 60%, after clicking "Save", the form on the Tilda site will also be reduced to 60% in width.